The Layers panel gives you an overview of every content block on the current slide, in the order they are stacked. Use it to select overlapping content, change the stacking order, and keep complex slides organized—especially when working with animations or blocks that cover one another.
Open the Layers panel
Click Layers (the stacked layers icon) in the editor's right sidebar, or press ⌘ O on macOS or Ctrl O on Windows.
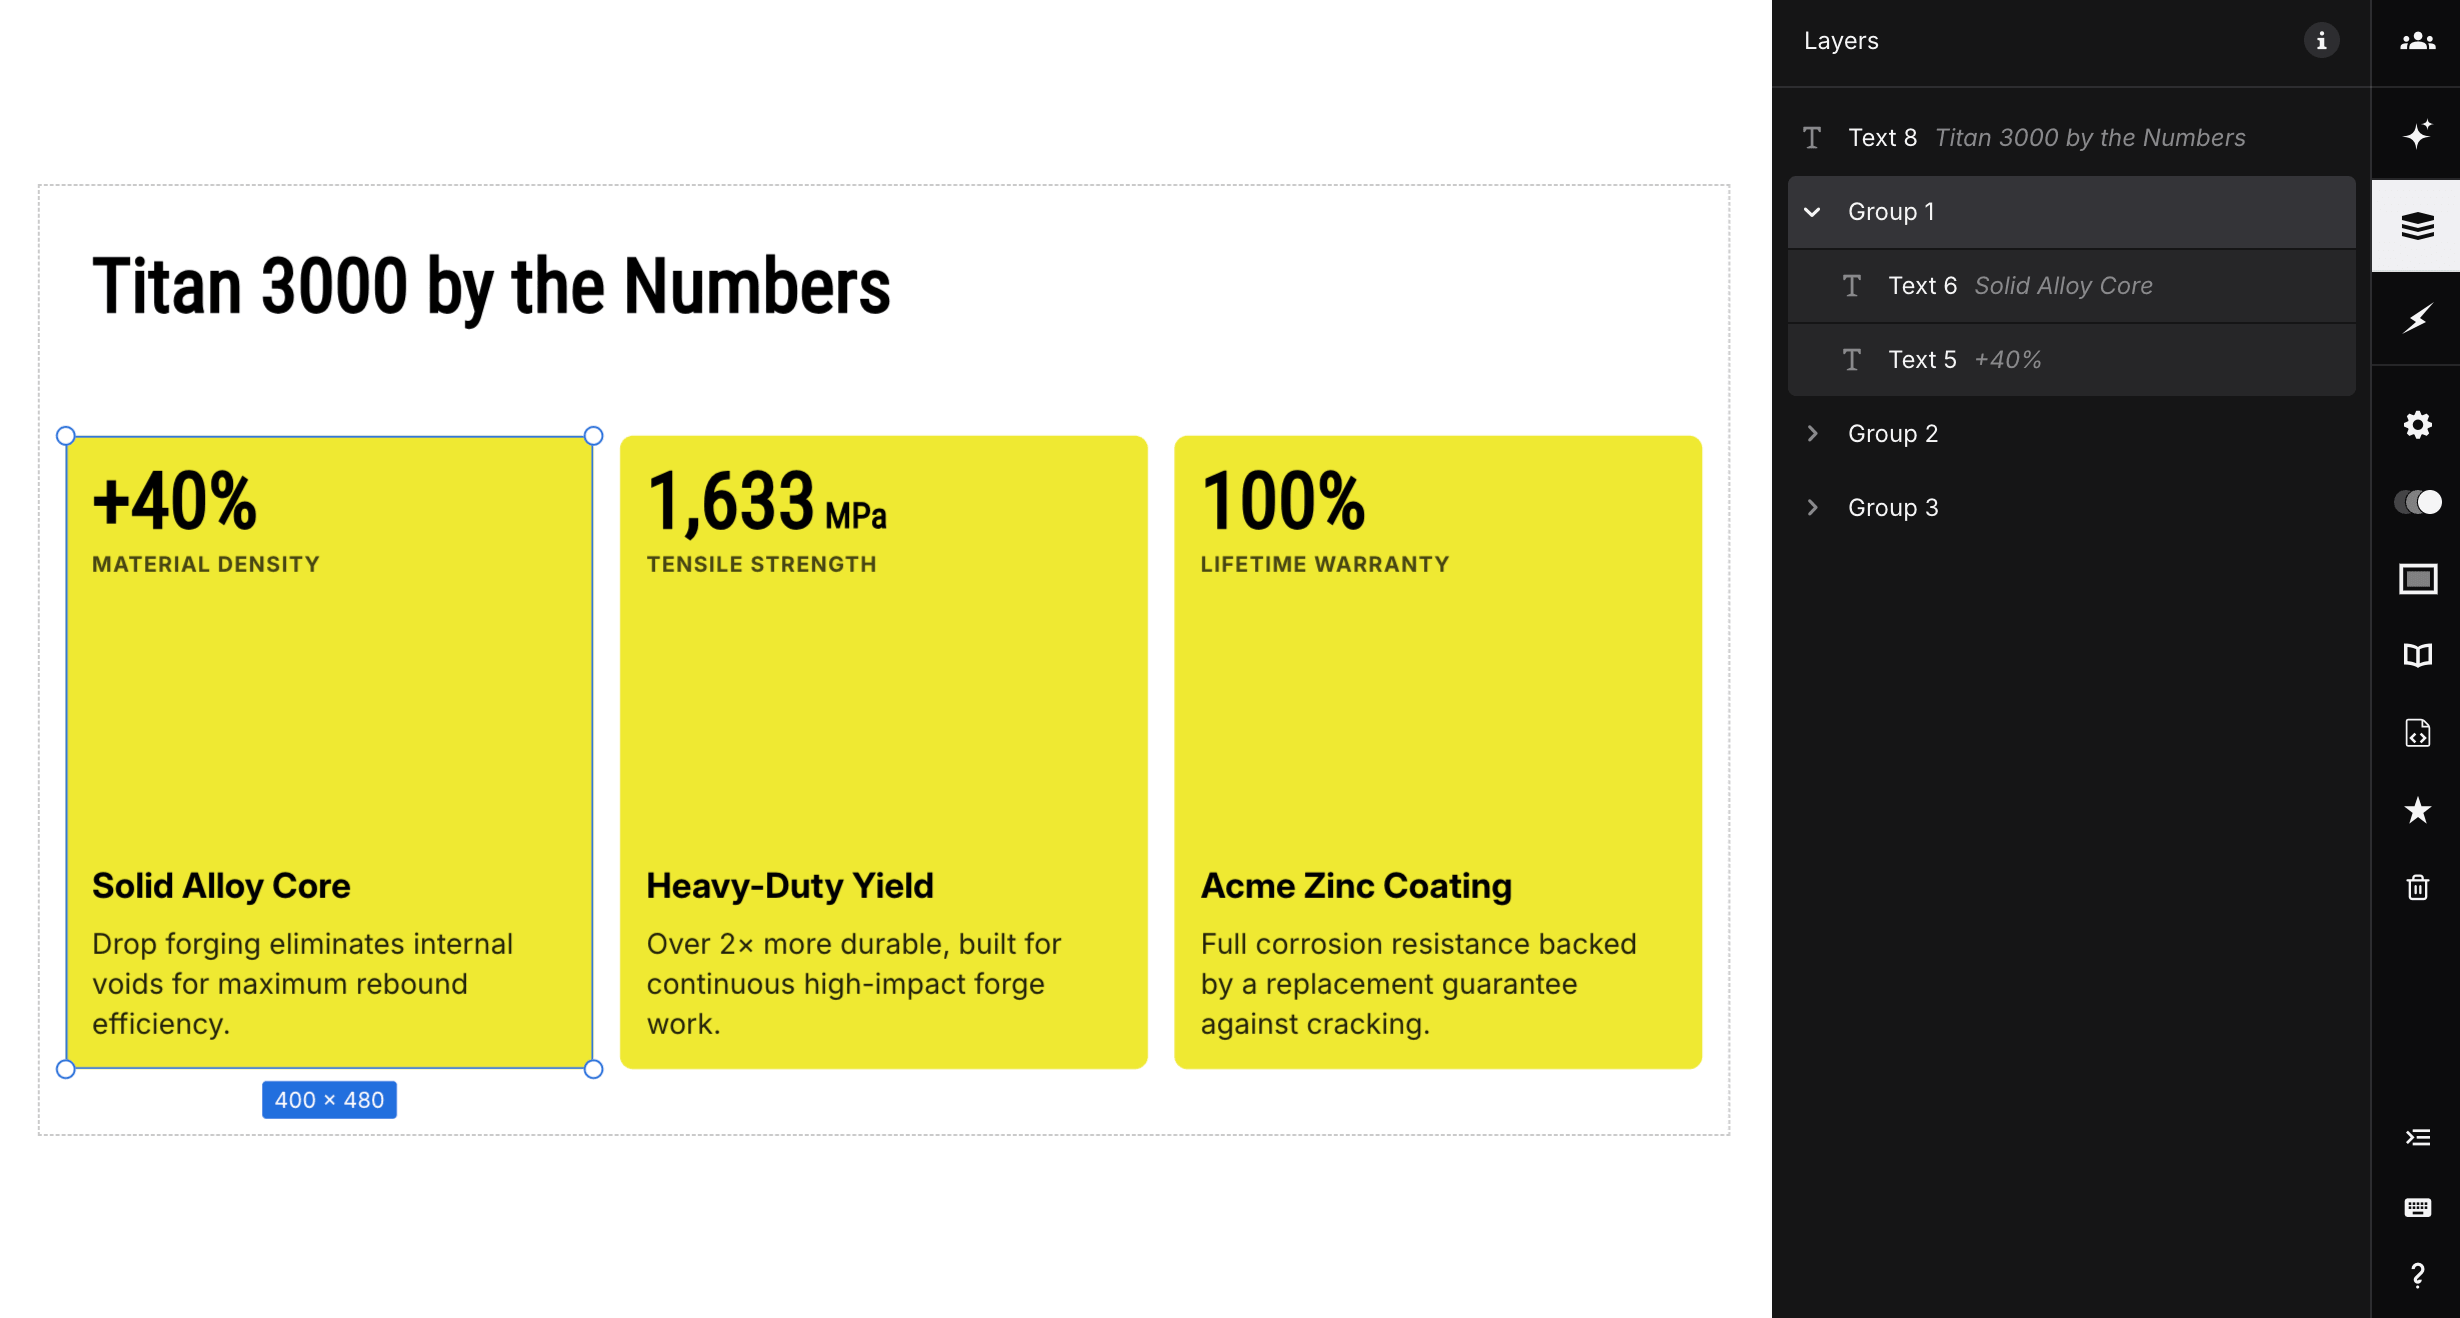
Click a layer to select its content on the slide. Groups have an arrow you can click to expand or collapse their contents. Here, a group is selected and expanded to show its individual blocks:
Change the stacking order
Drag a layer up or down in the panel to change which content appears in front. Layers at the top are in front of those below them. Within a group, the same order applies to its contents.
You can also select several layers: hold ⇧ and click to select a range, or hold ⌘ on macOS or Ctrl on Windows and click to add or remove individual layers from your selection.
Rename a layer
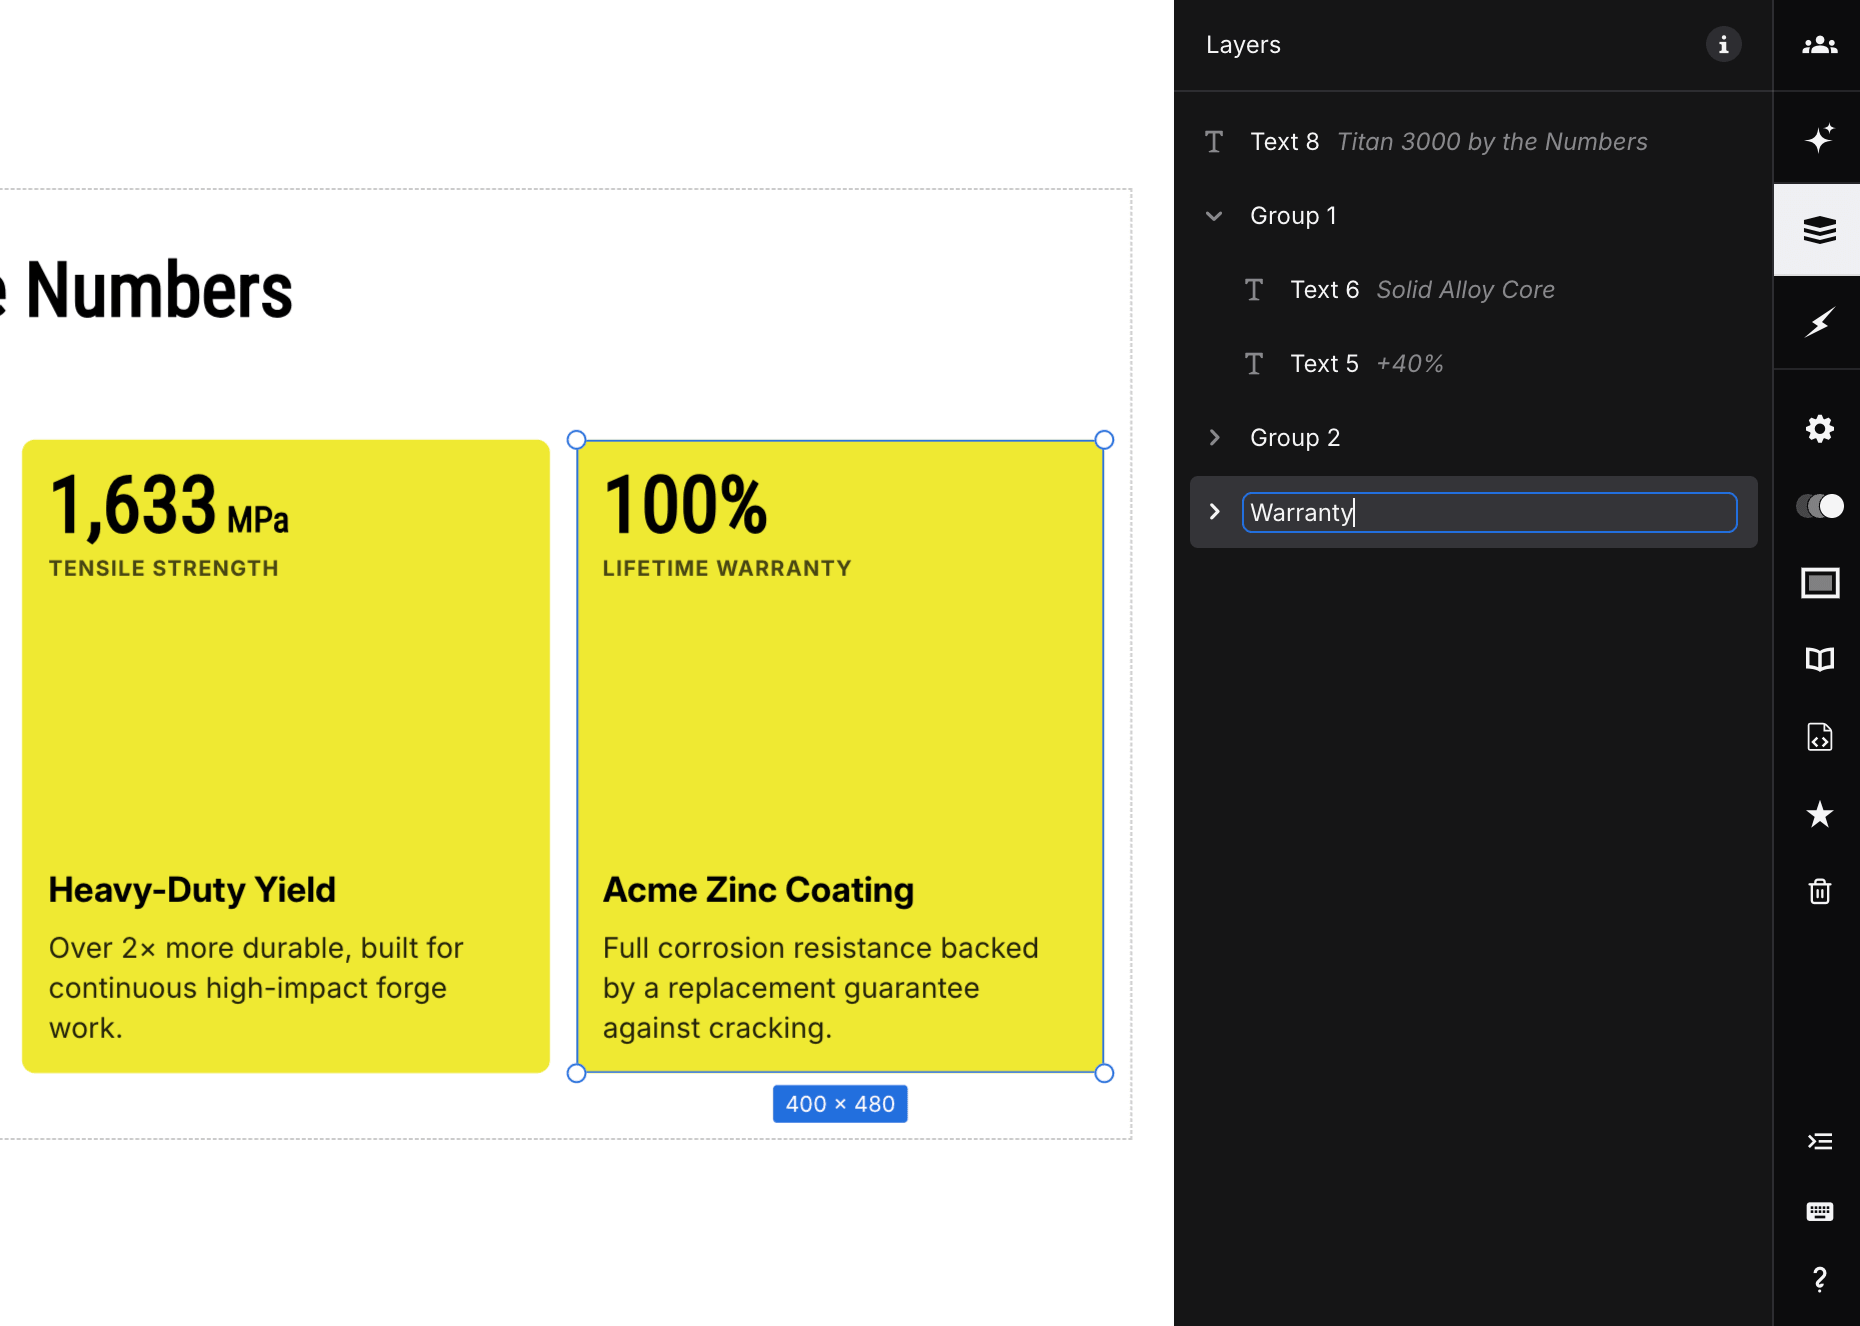
Double-click a layer's name, type a new name, and press Enter to save. You can also right-click a layer and choose Rename. Press Esc to cancel renaming.
Descriptive names such as “Warranty” make blocks and groups easier to find. Renaming a layer changes its label in the panel; the text on your slide stays the same.
Lock and hide layers
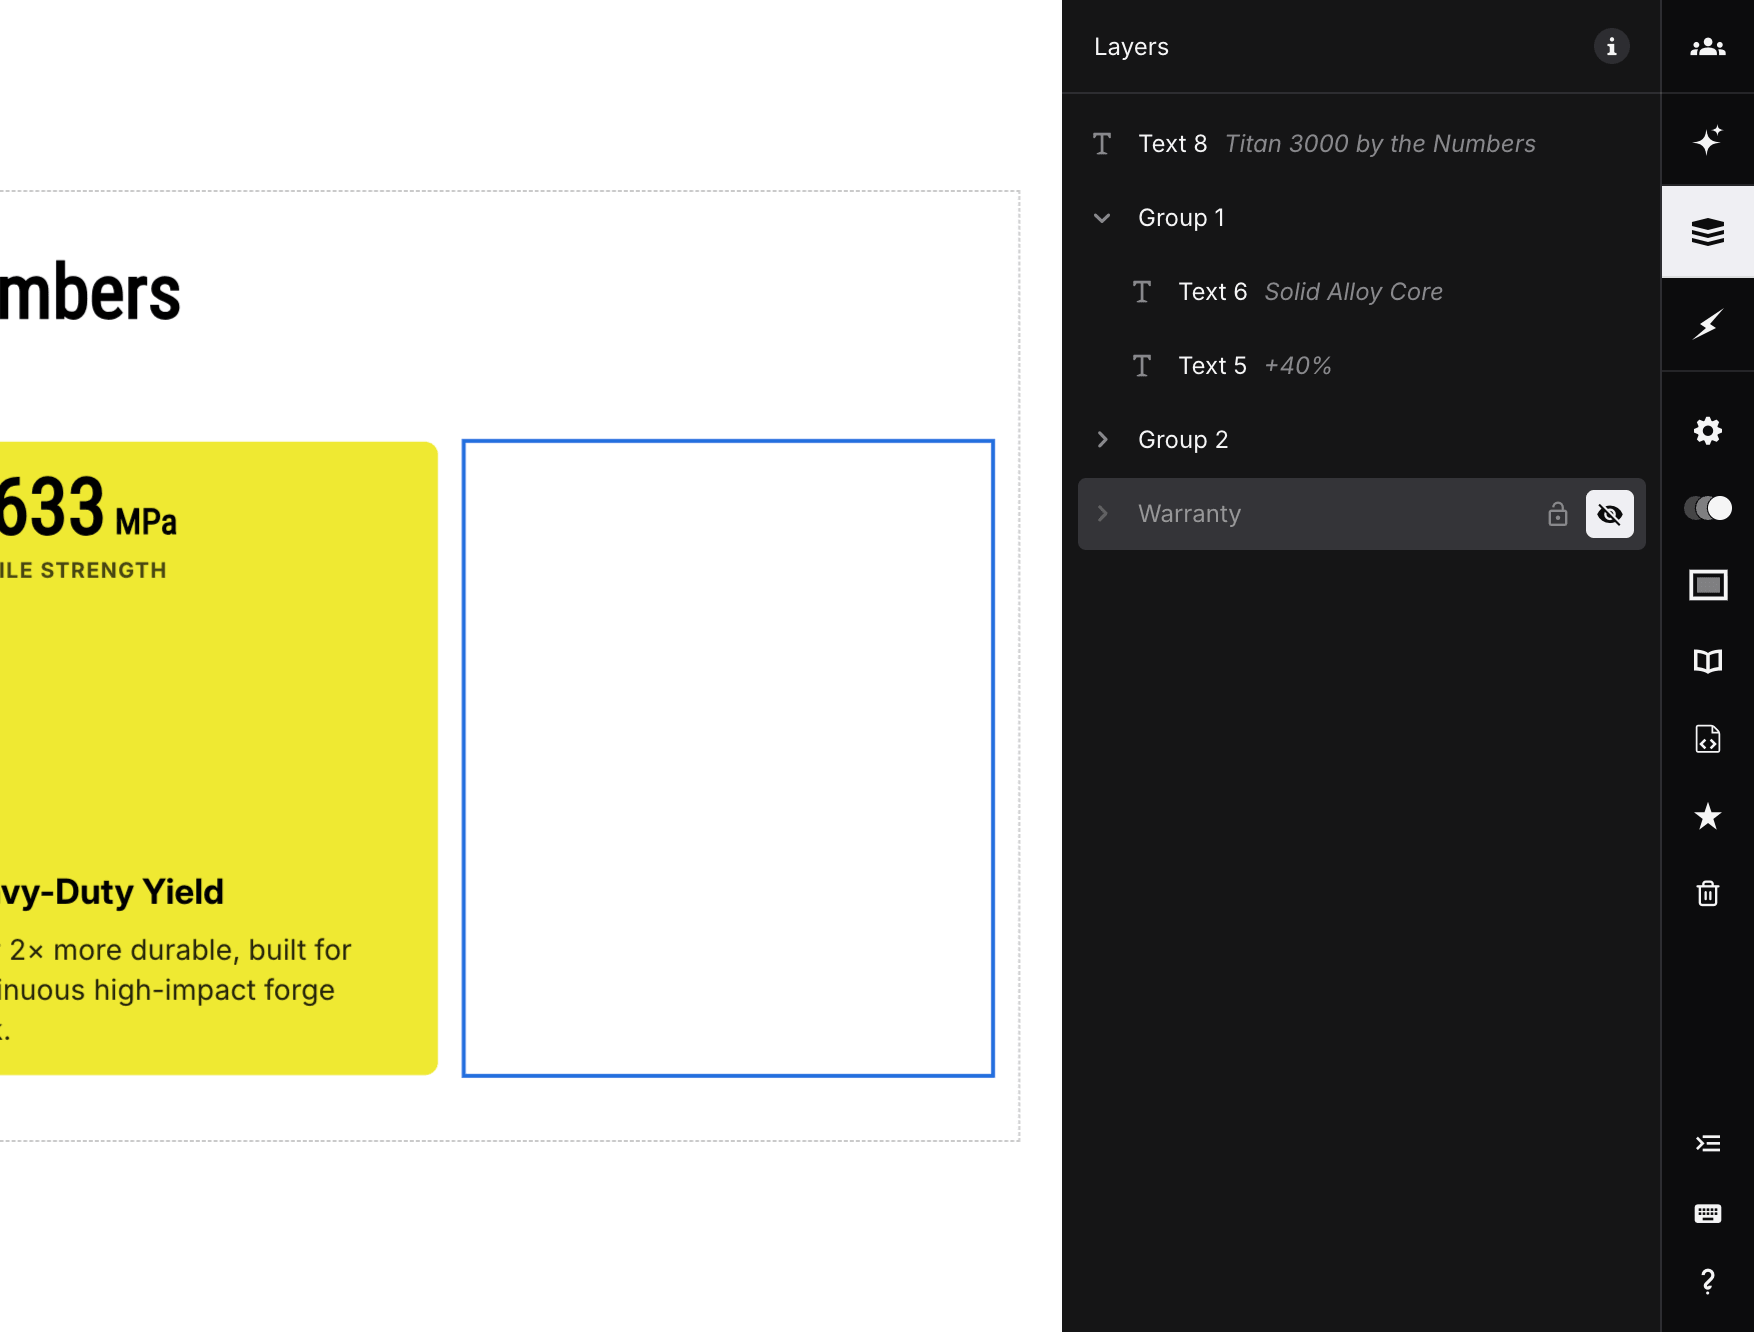
Hover over a layer to reveal its lock and visibility controls:
- Lock block helps prevent accidental changes, such as moving or resizing content.
- Hide block hides the content without deleting it. The layer stays in the panel, where you can click Show block to bring it back.
Hidden content is also hidden when you present. Show it again before presenting if you only meant to hide it while editing.
Learn more about grouping content blocks and locking content blocks.