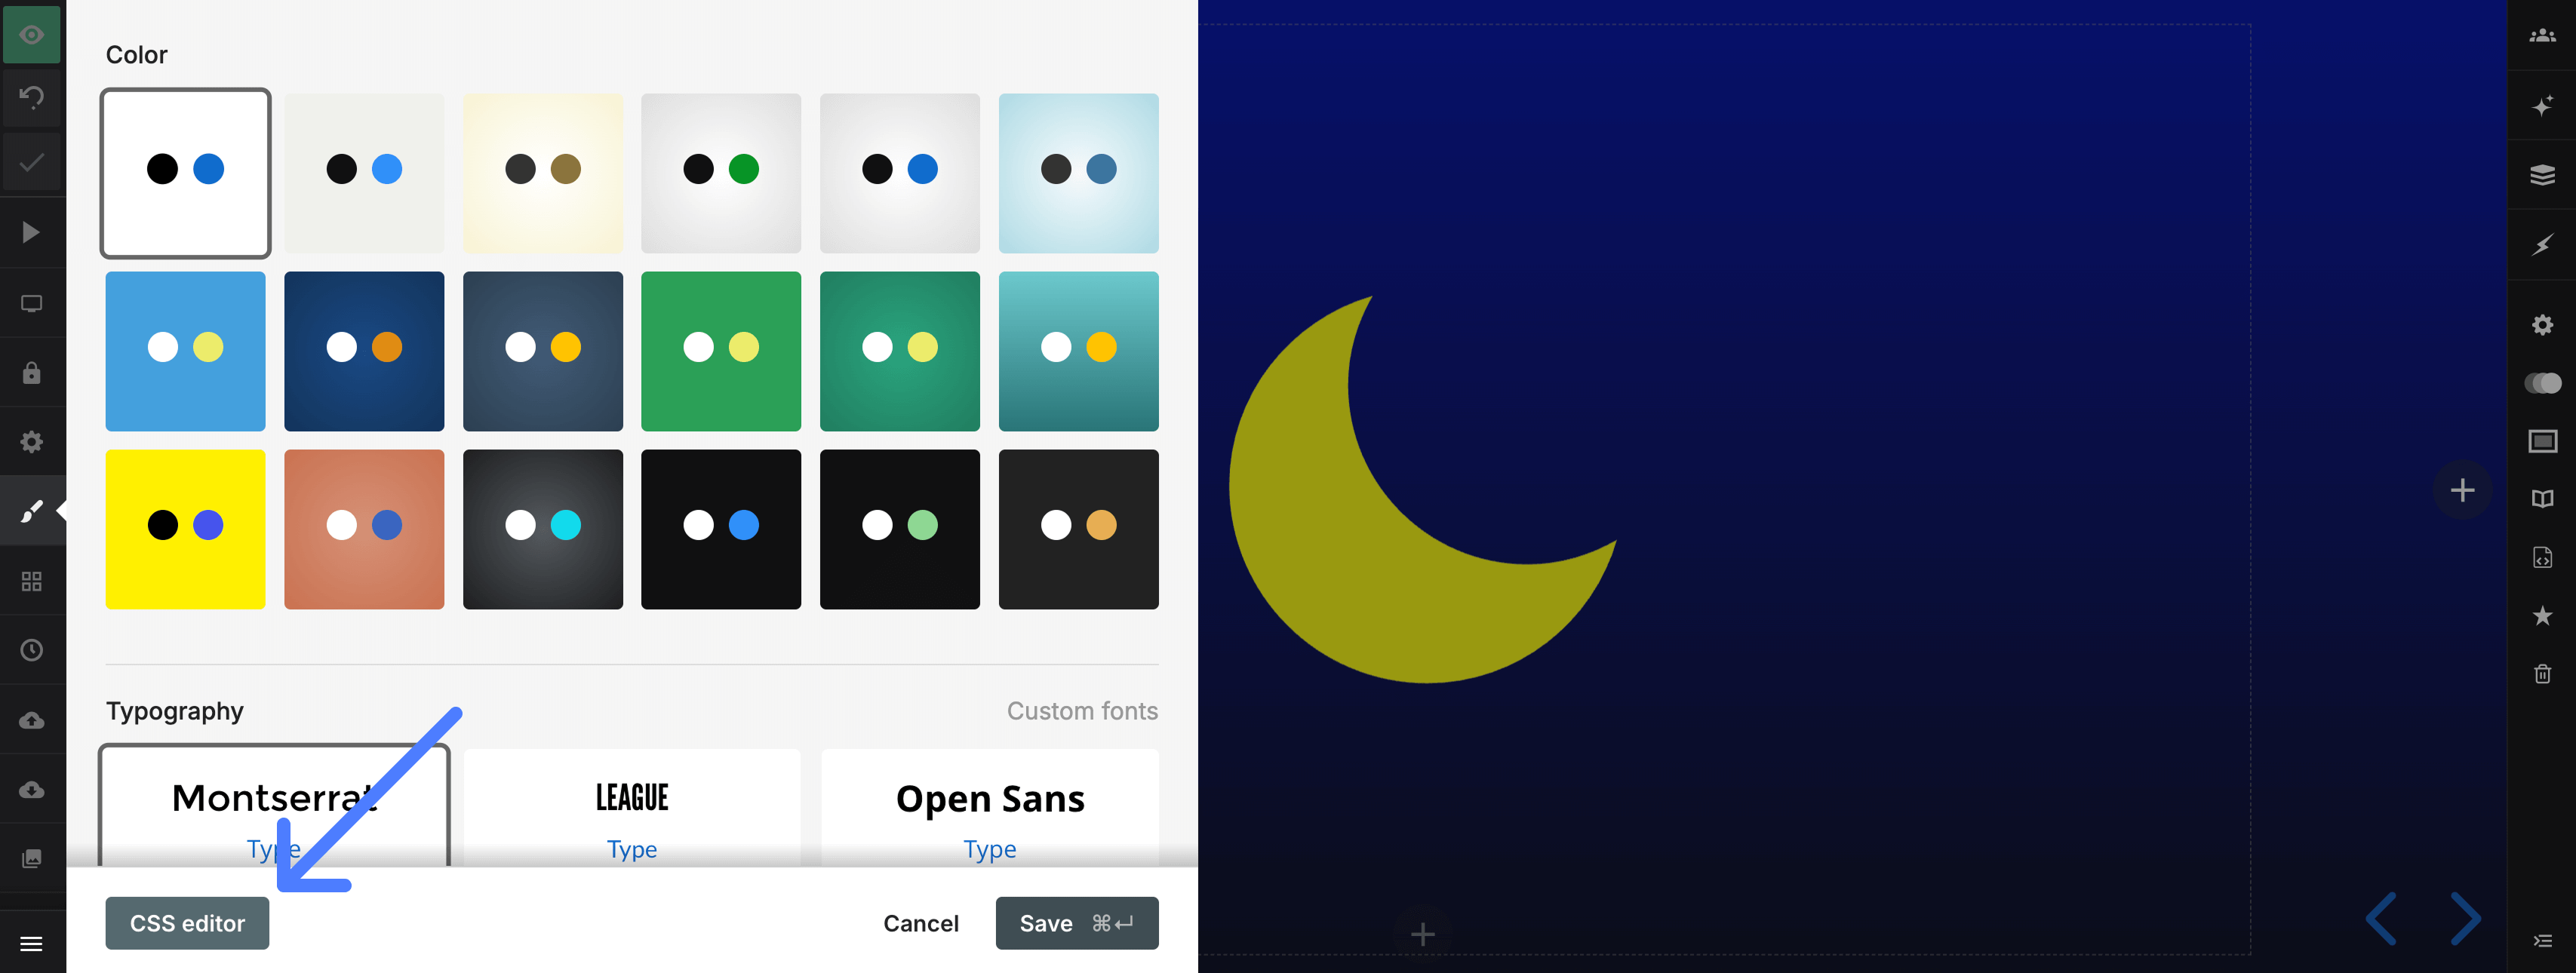
The CSS editor gives you complete control over your presentation's styles. Open the Style panel in the editor and select CSS editor.
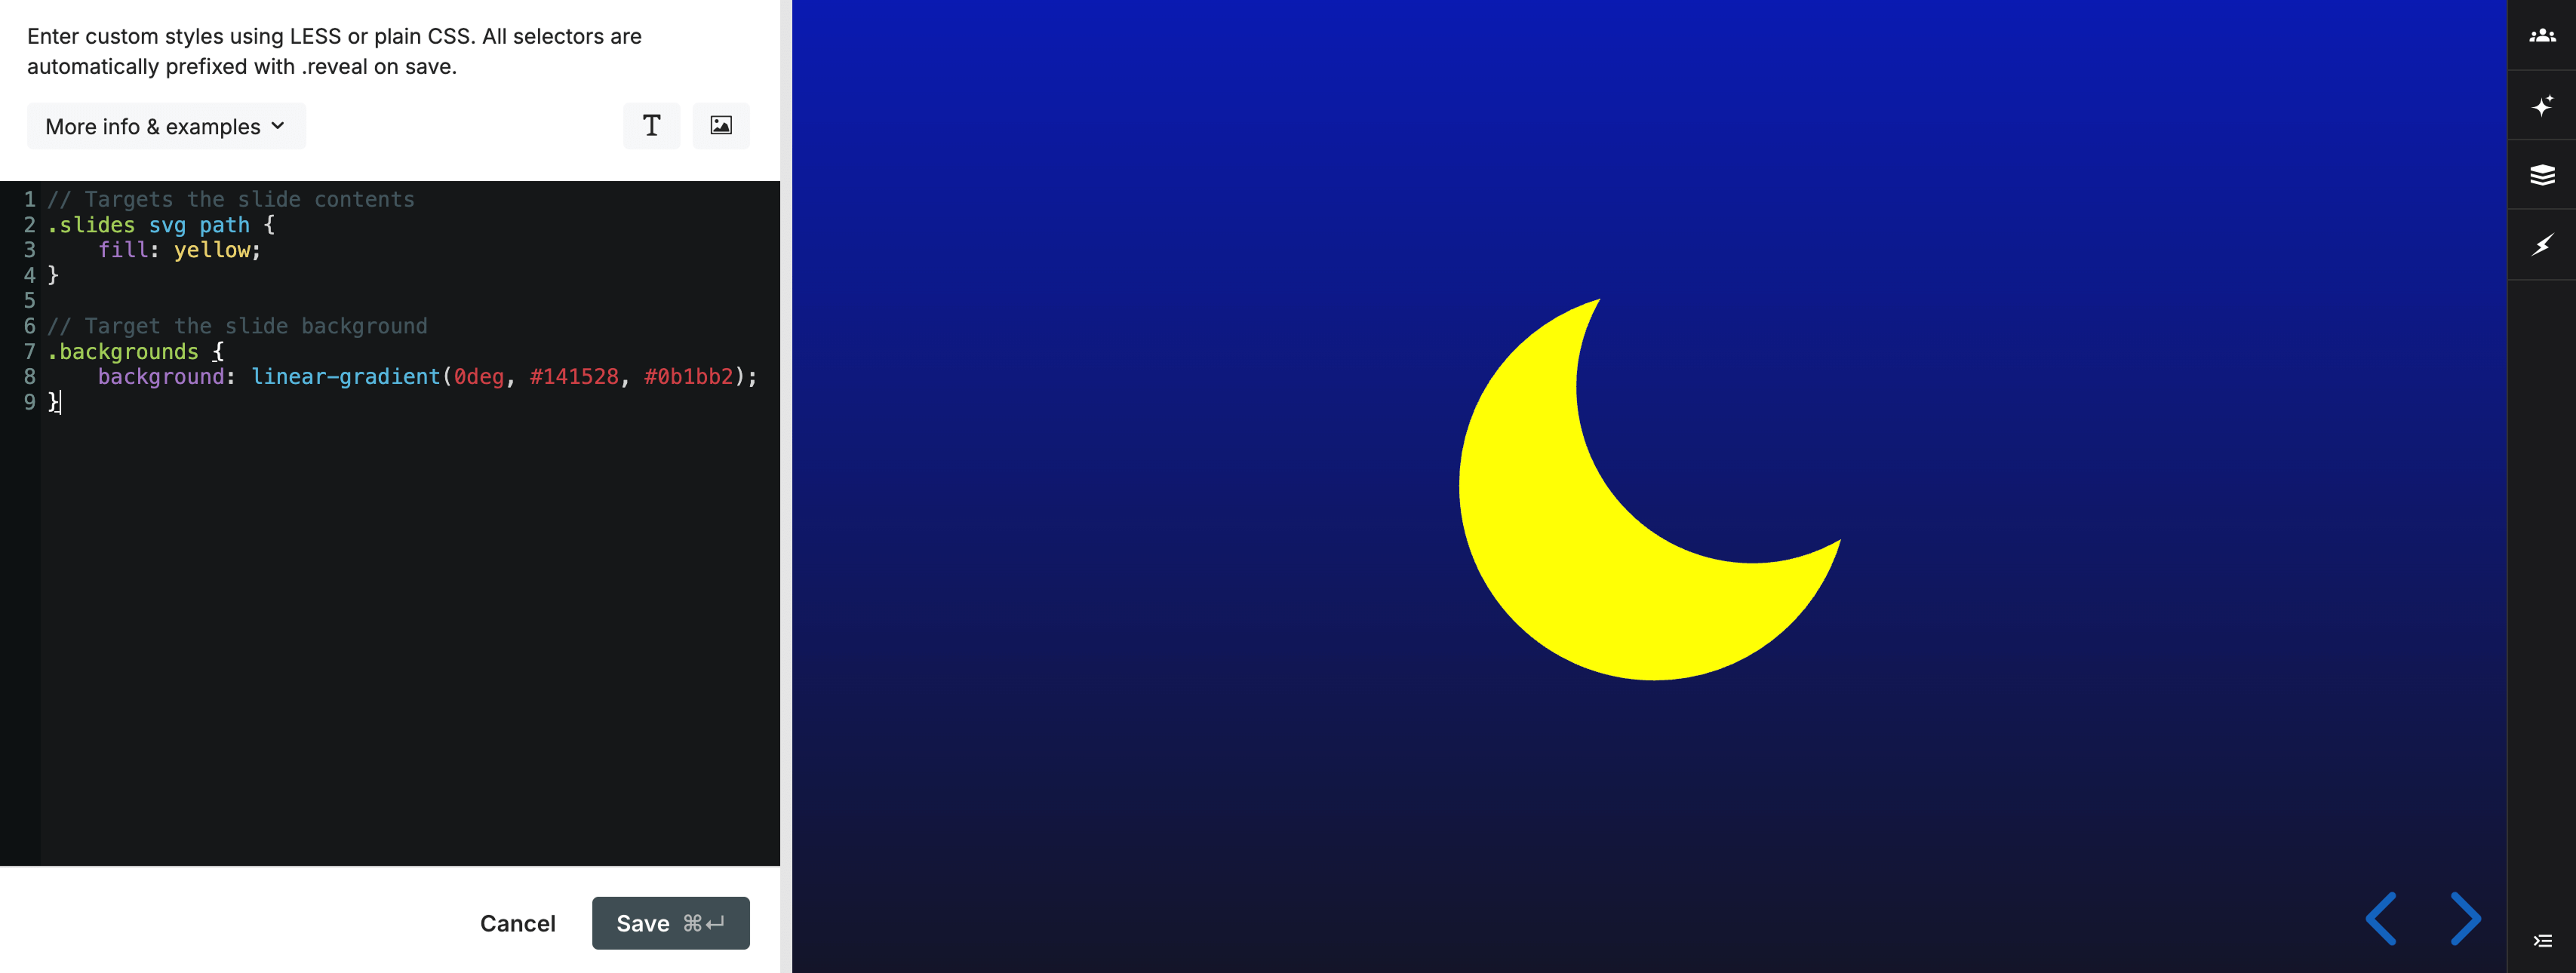
The editor supports LESS as well as plain CSS, and your styles are previewed as you type. When saved, they're automatically scoped within a .reveal {} selector to prevent conflicts with the surrounding page.
Custom fonts
You can load fonts from Adobe Fonts (formerly Typekit) or Google Fonts and apply them to your content with CSS. Learn more about custom fonts.
Developer mode
Turn on developer mode to add custom classes to any selected block. This is the most direct way to apply your CSS to specific elements.
Slide classes
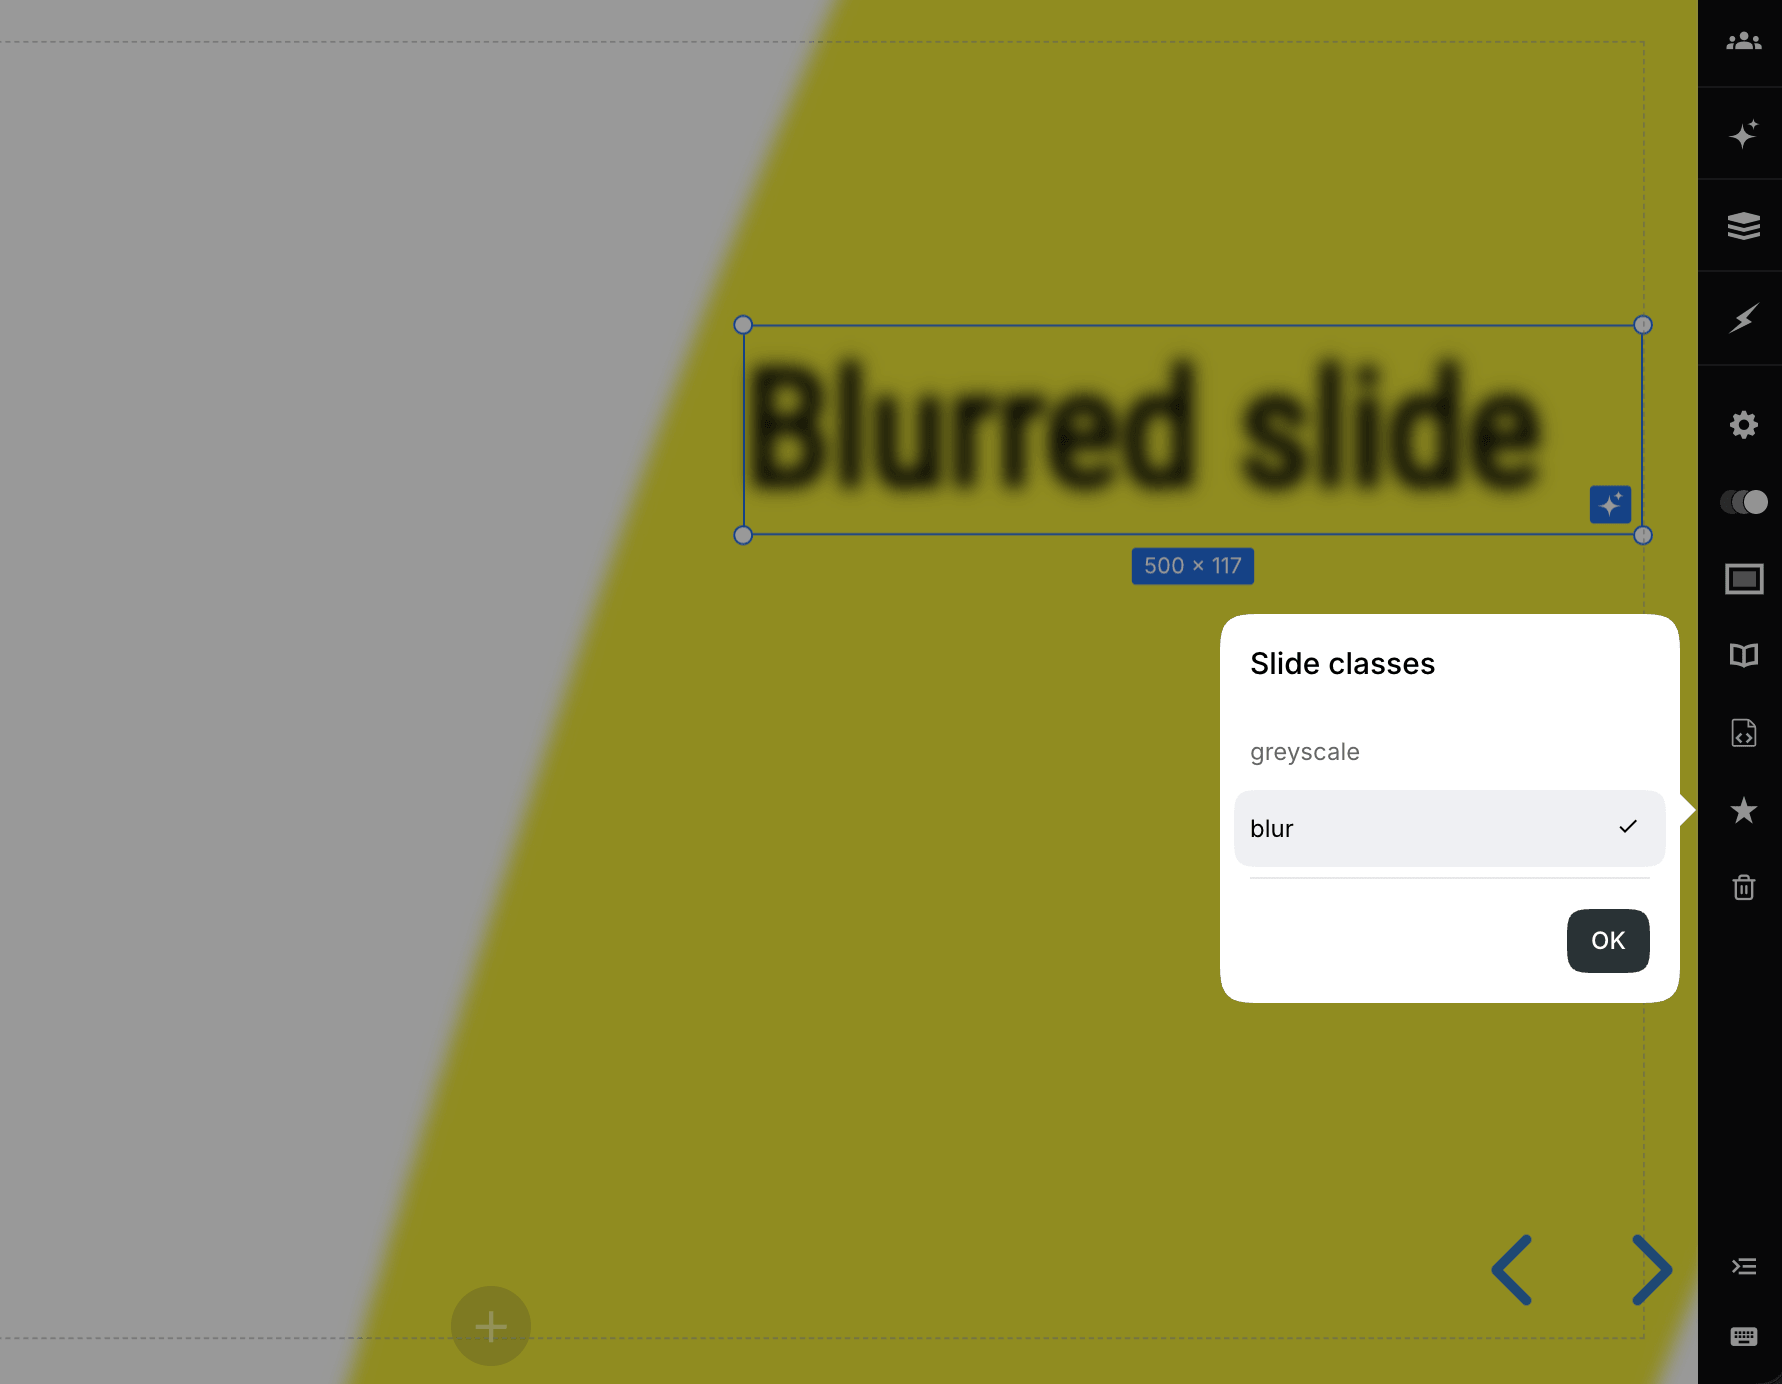
Start a line with //= followed by a class name to make that class available in the presentation editor's slide classes. This example adds a class that blurs a slide:
//= blurry-slide
.blurry-slide { filter: blur(5px); }
Example selectors
These selectors target common presentation elements:
// Apply a background color to all slides
.slide-background {
    background-color: indigo;
}

// Control arrow color
.controls button {
    color: #ff0000;
}

// Fill color for the presentation progress bar
.progress span {
    background: #ff0000;
}

// Body text color
.slides {
    color: #009999;
}

// Link color
.slides a {
    color: red;
}

// Turn text white if the slide has a dark background
.has-dark-background {
    color: #fff;
}

// Larger slide numbers (if slide numbers are enabled for the deck)
.slide-number {
    font-size: 20px;
}

// Add a blue border to all slides (each slide is a <section>)
.slides section {
    outline: 1px solid blue;
}

// Add a red border to all vertical stacks of slides
.slides section.stack {
    outline: 1px solid red;
}

// Include a custom font
@font-face {
  font-family: "Cabin Sketch";
  src: url("https://s3.amazonaws.com/static.slid.es/fonts/cabinsketch/cabinsketch-regular.woff") format("woff"),
       url("https://s3.amazonaws.com/static.slid.es/fonts/cabinsketch/cabinsketch-regular.ttf") format("truetype");
}

.slides h1, .slides h2, .slides h3 {
    font-family: "Cabin Sketch";
}