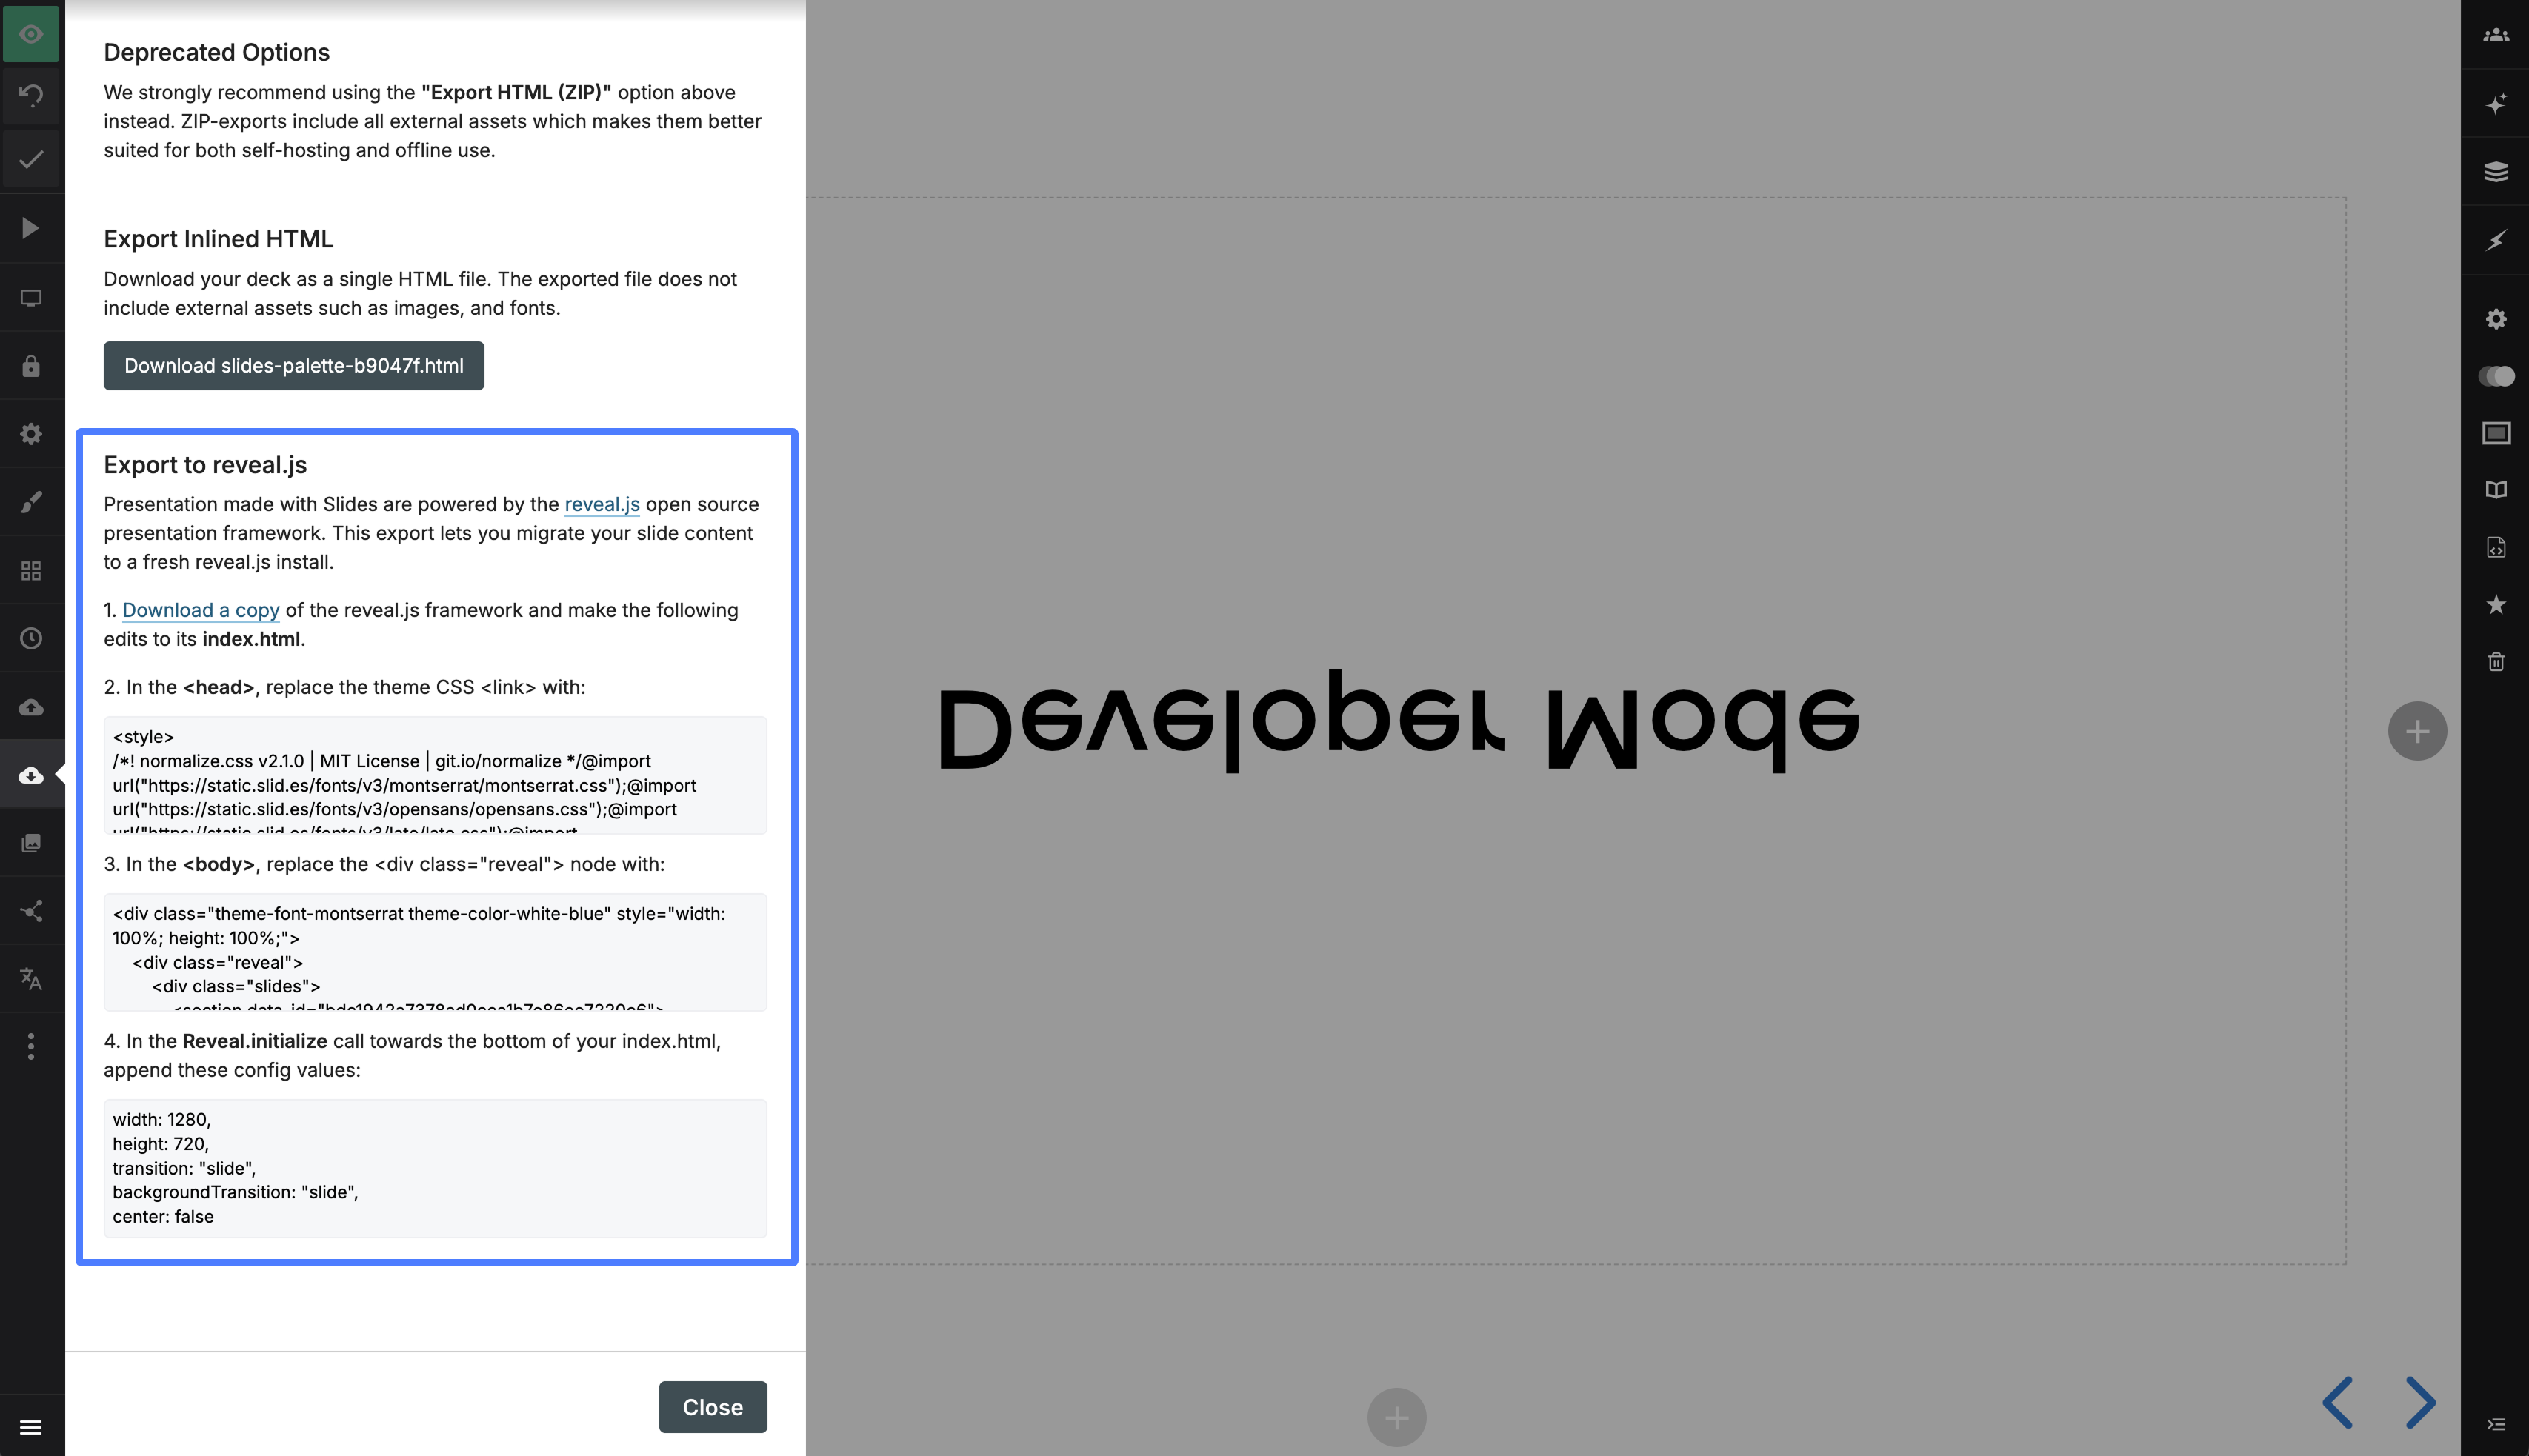
Developer mode provides advanced HTML and CSS controls that are not available in the standard editor interface. It lets you edit slide HTML, assign custom classes, and export HTML.
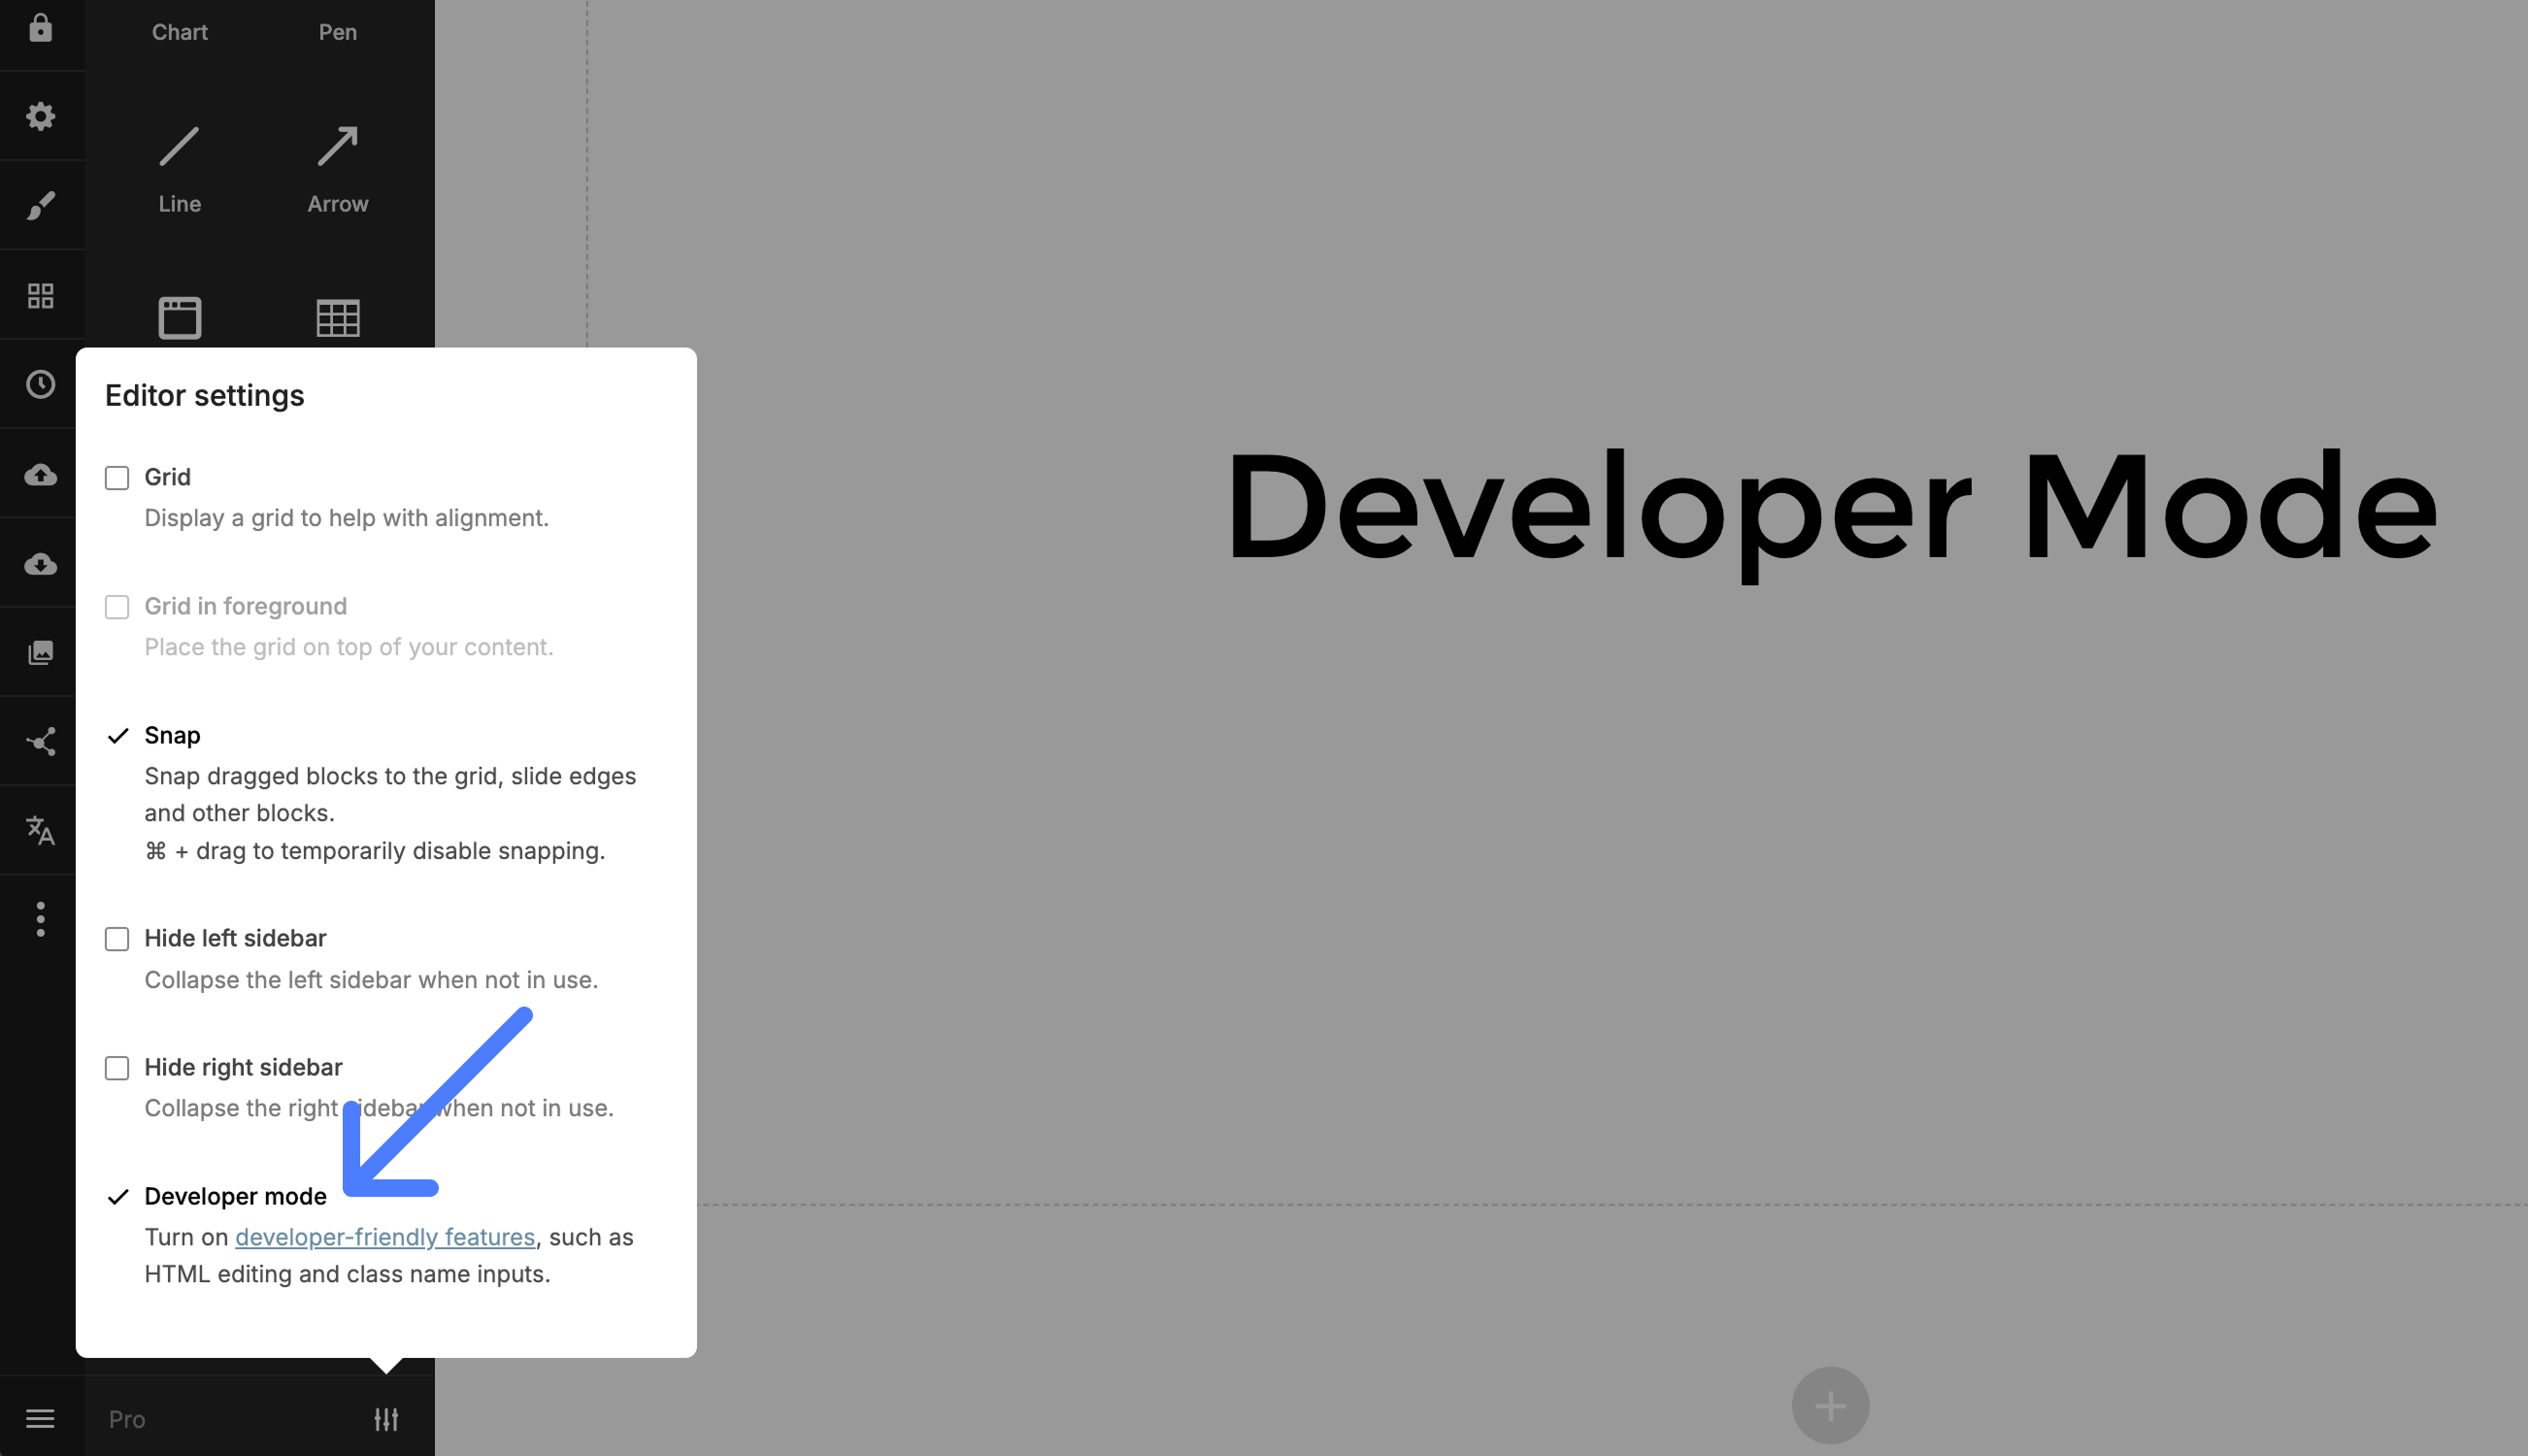
To enable developer mode, open the editor settings in the bottom-left corner:
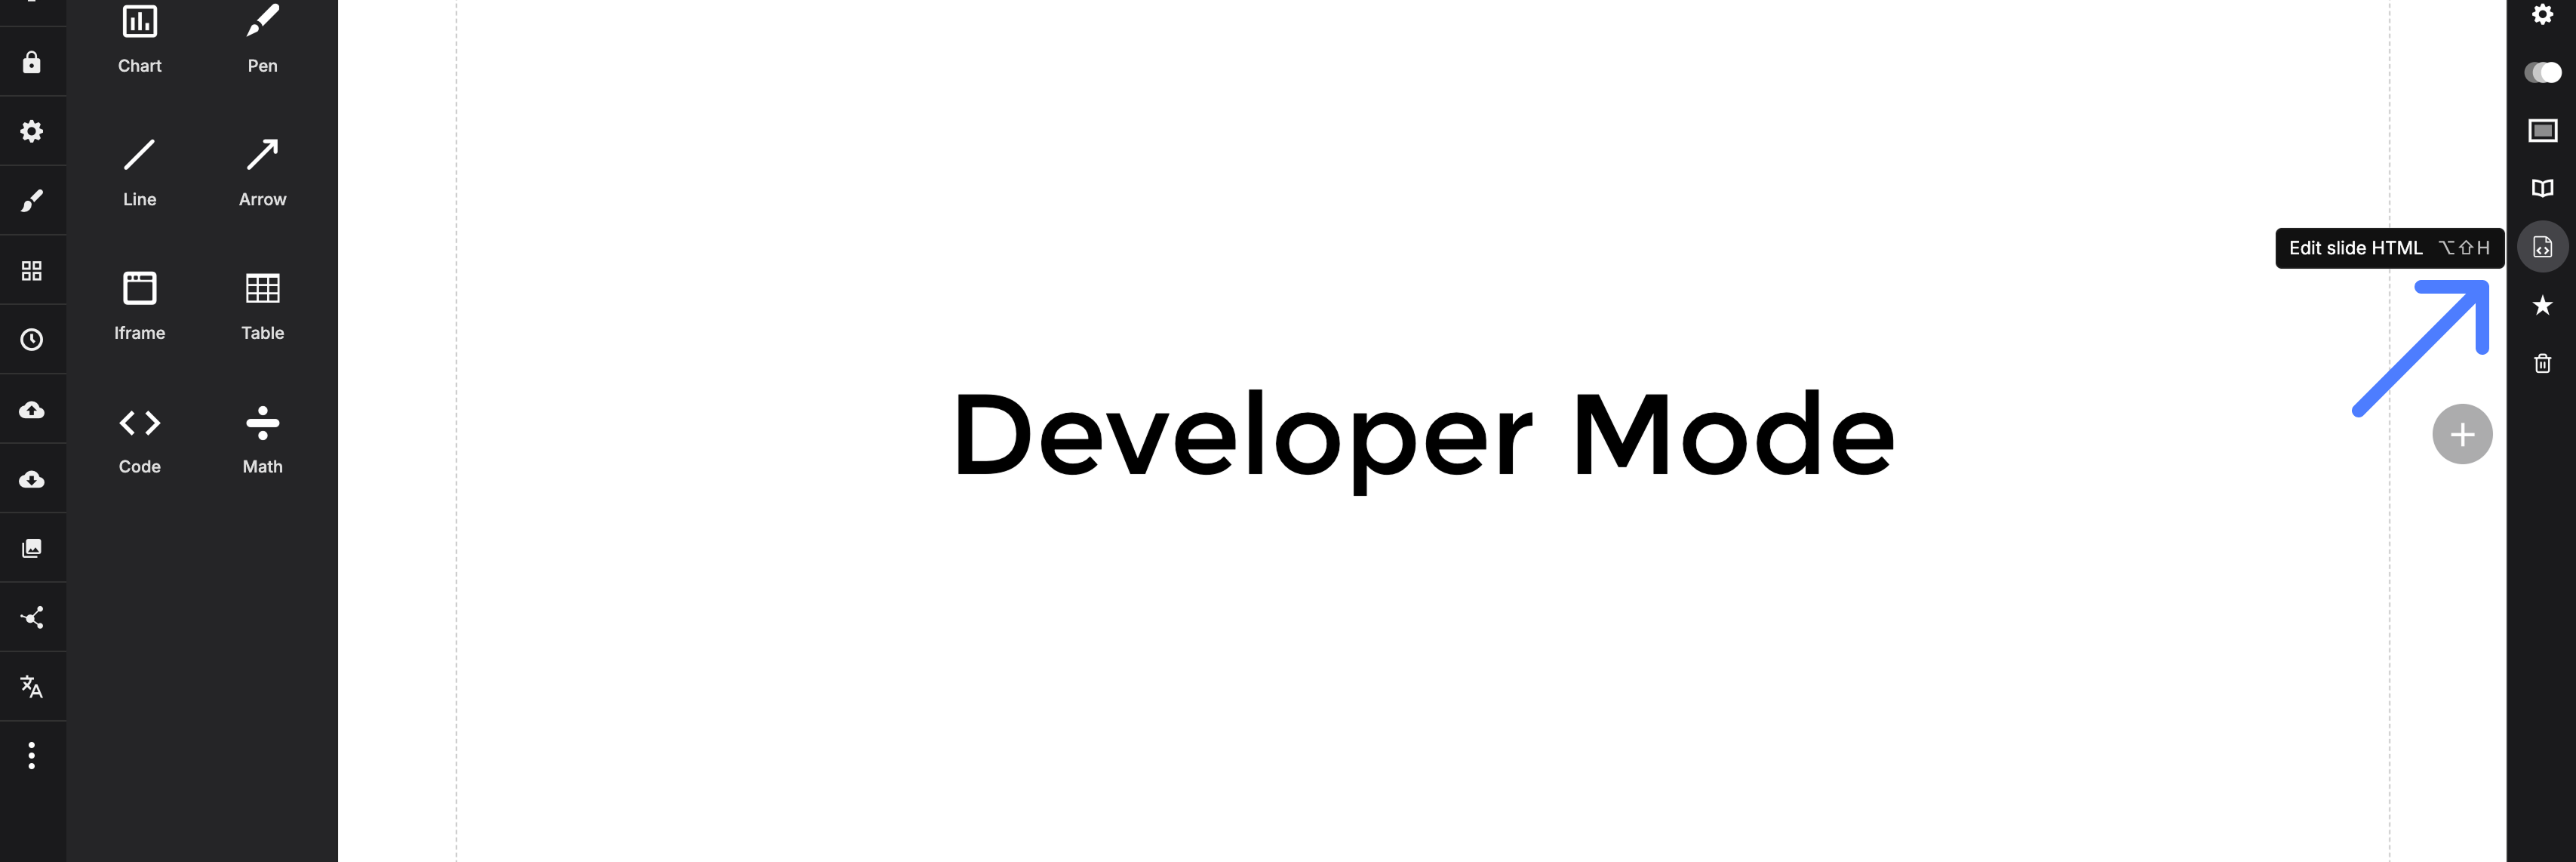
Editing HTML
Open the per-slide HTML editor from the slide options area. Some elements, including <script> and <link>, are not allowed for security reasons.
Custom element classes (Pro/Team)
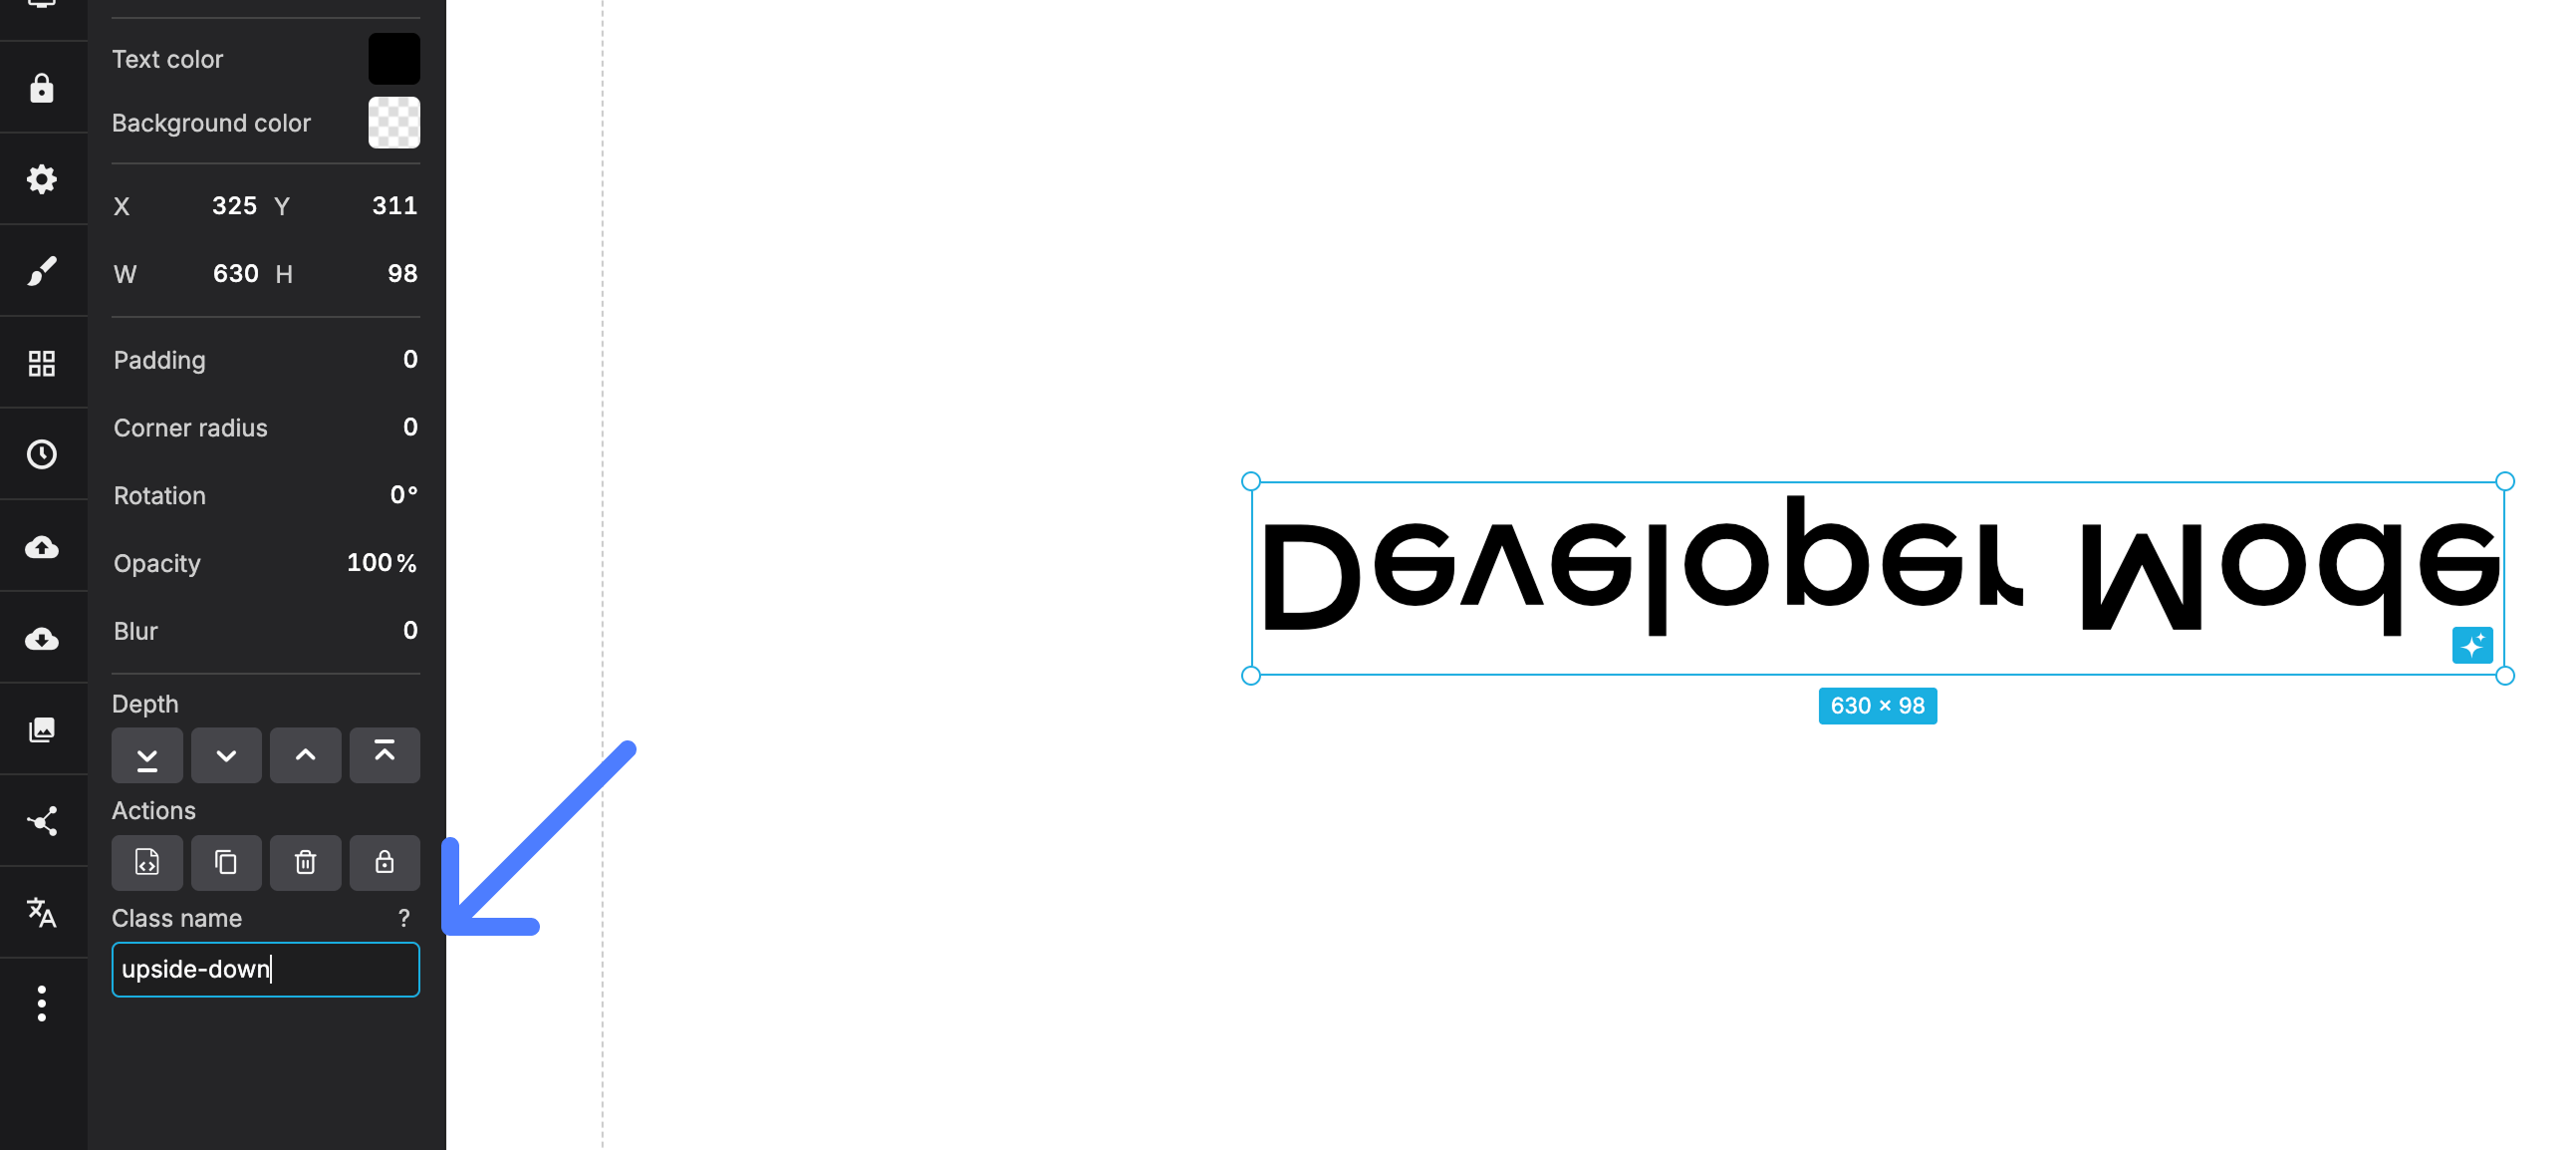
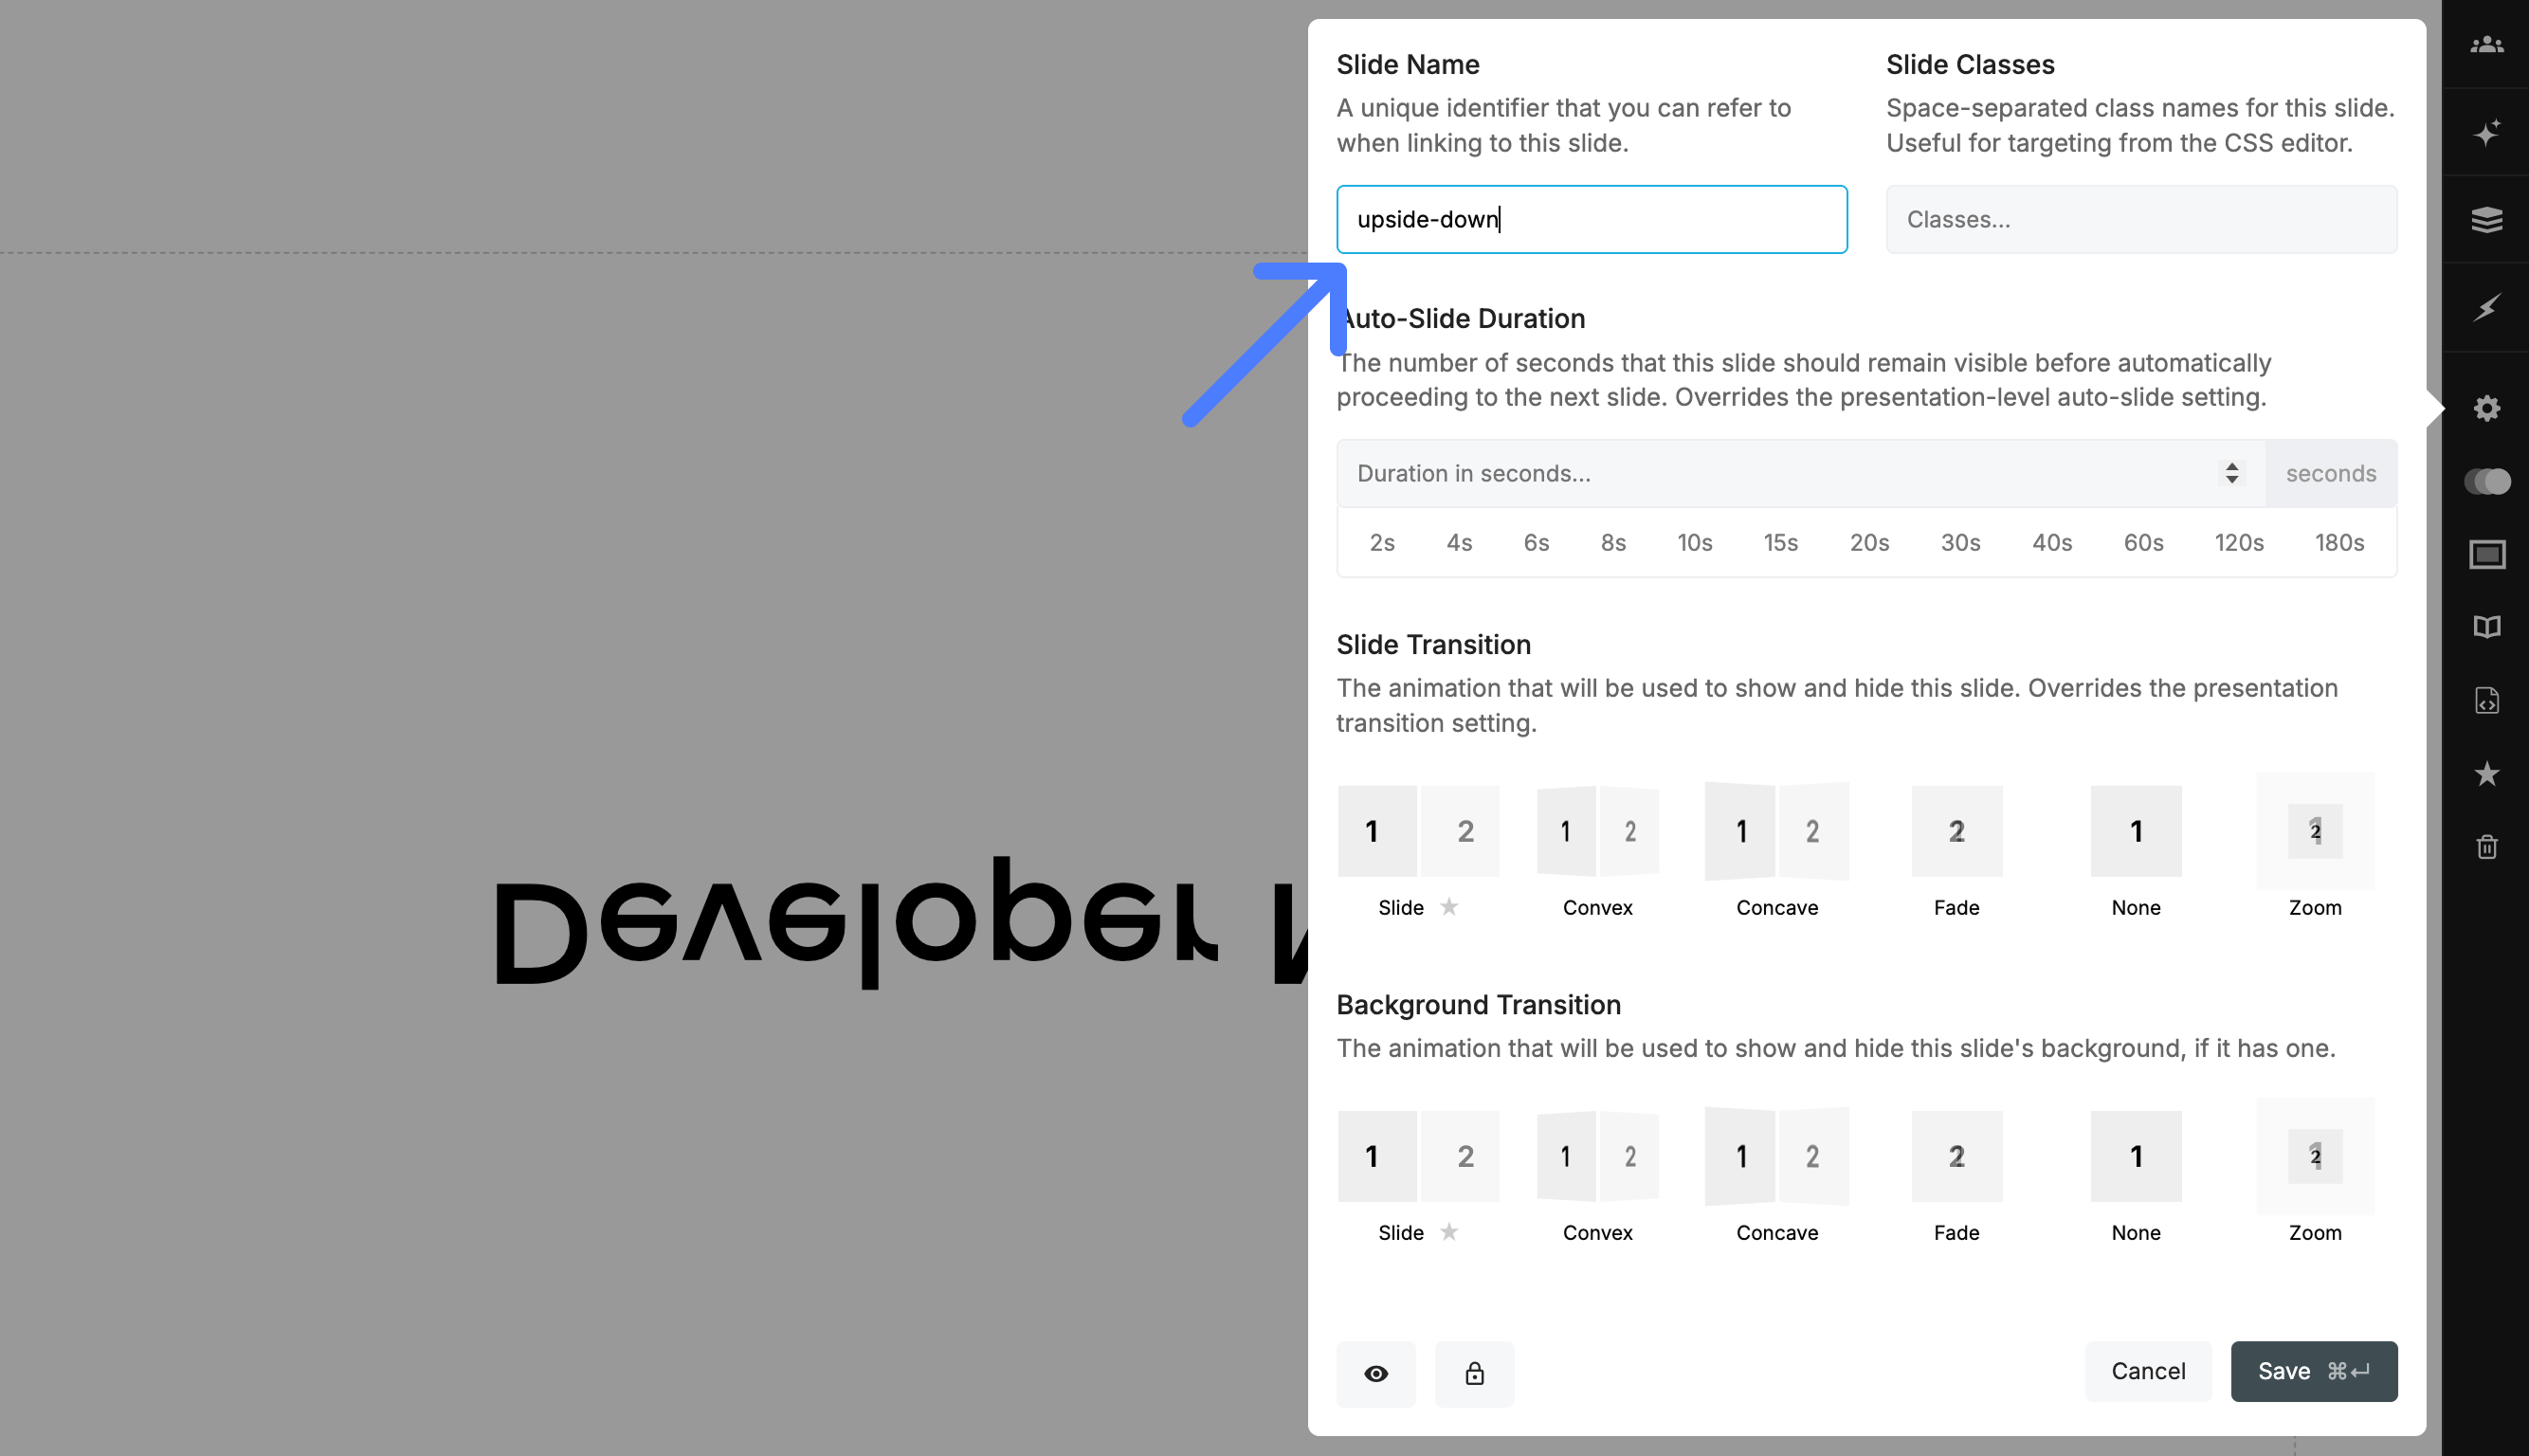
Pro and Team accounts can add custom styles to a deck with the CSS editor. With developer mode turned on, a class name field appears for any block you select, making it straightforward to target that specific block from your CSS.
This example defines an upside-down class in the CSS editor and applies it to a text block:
.upside-down {
  transform: scale( 1, -1 );
}
Custom slide classes (Pro/Team)
You can also add custom classes to a complete slide. Use them for broader changes, such as inverting text and icon colors or changing the slide transition.
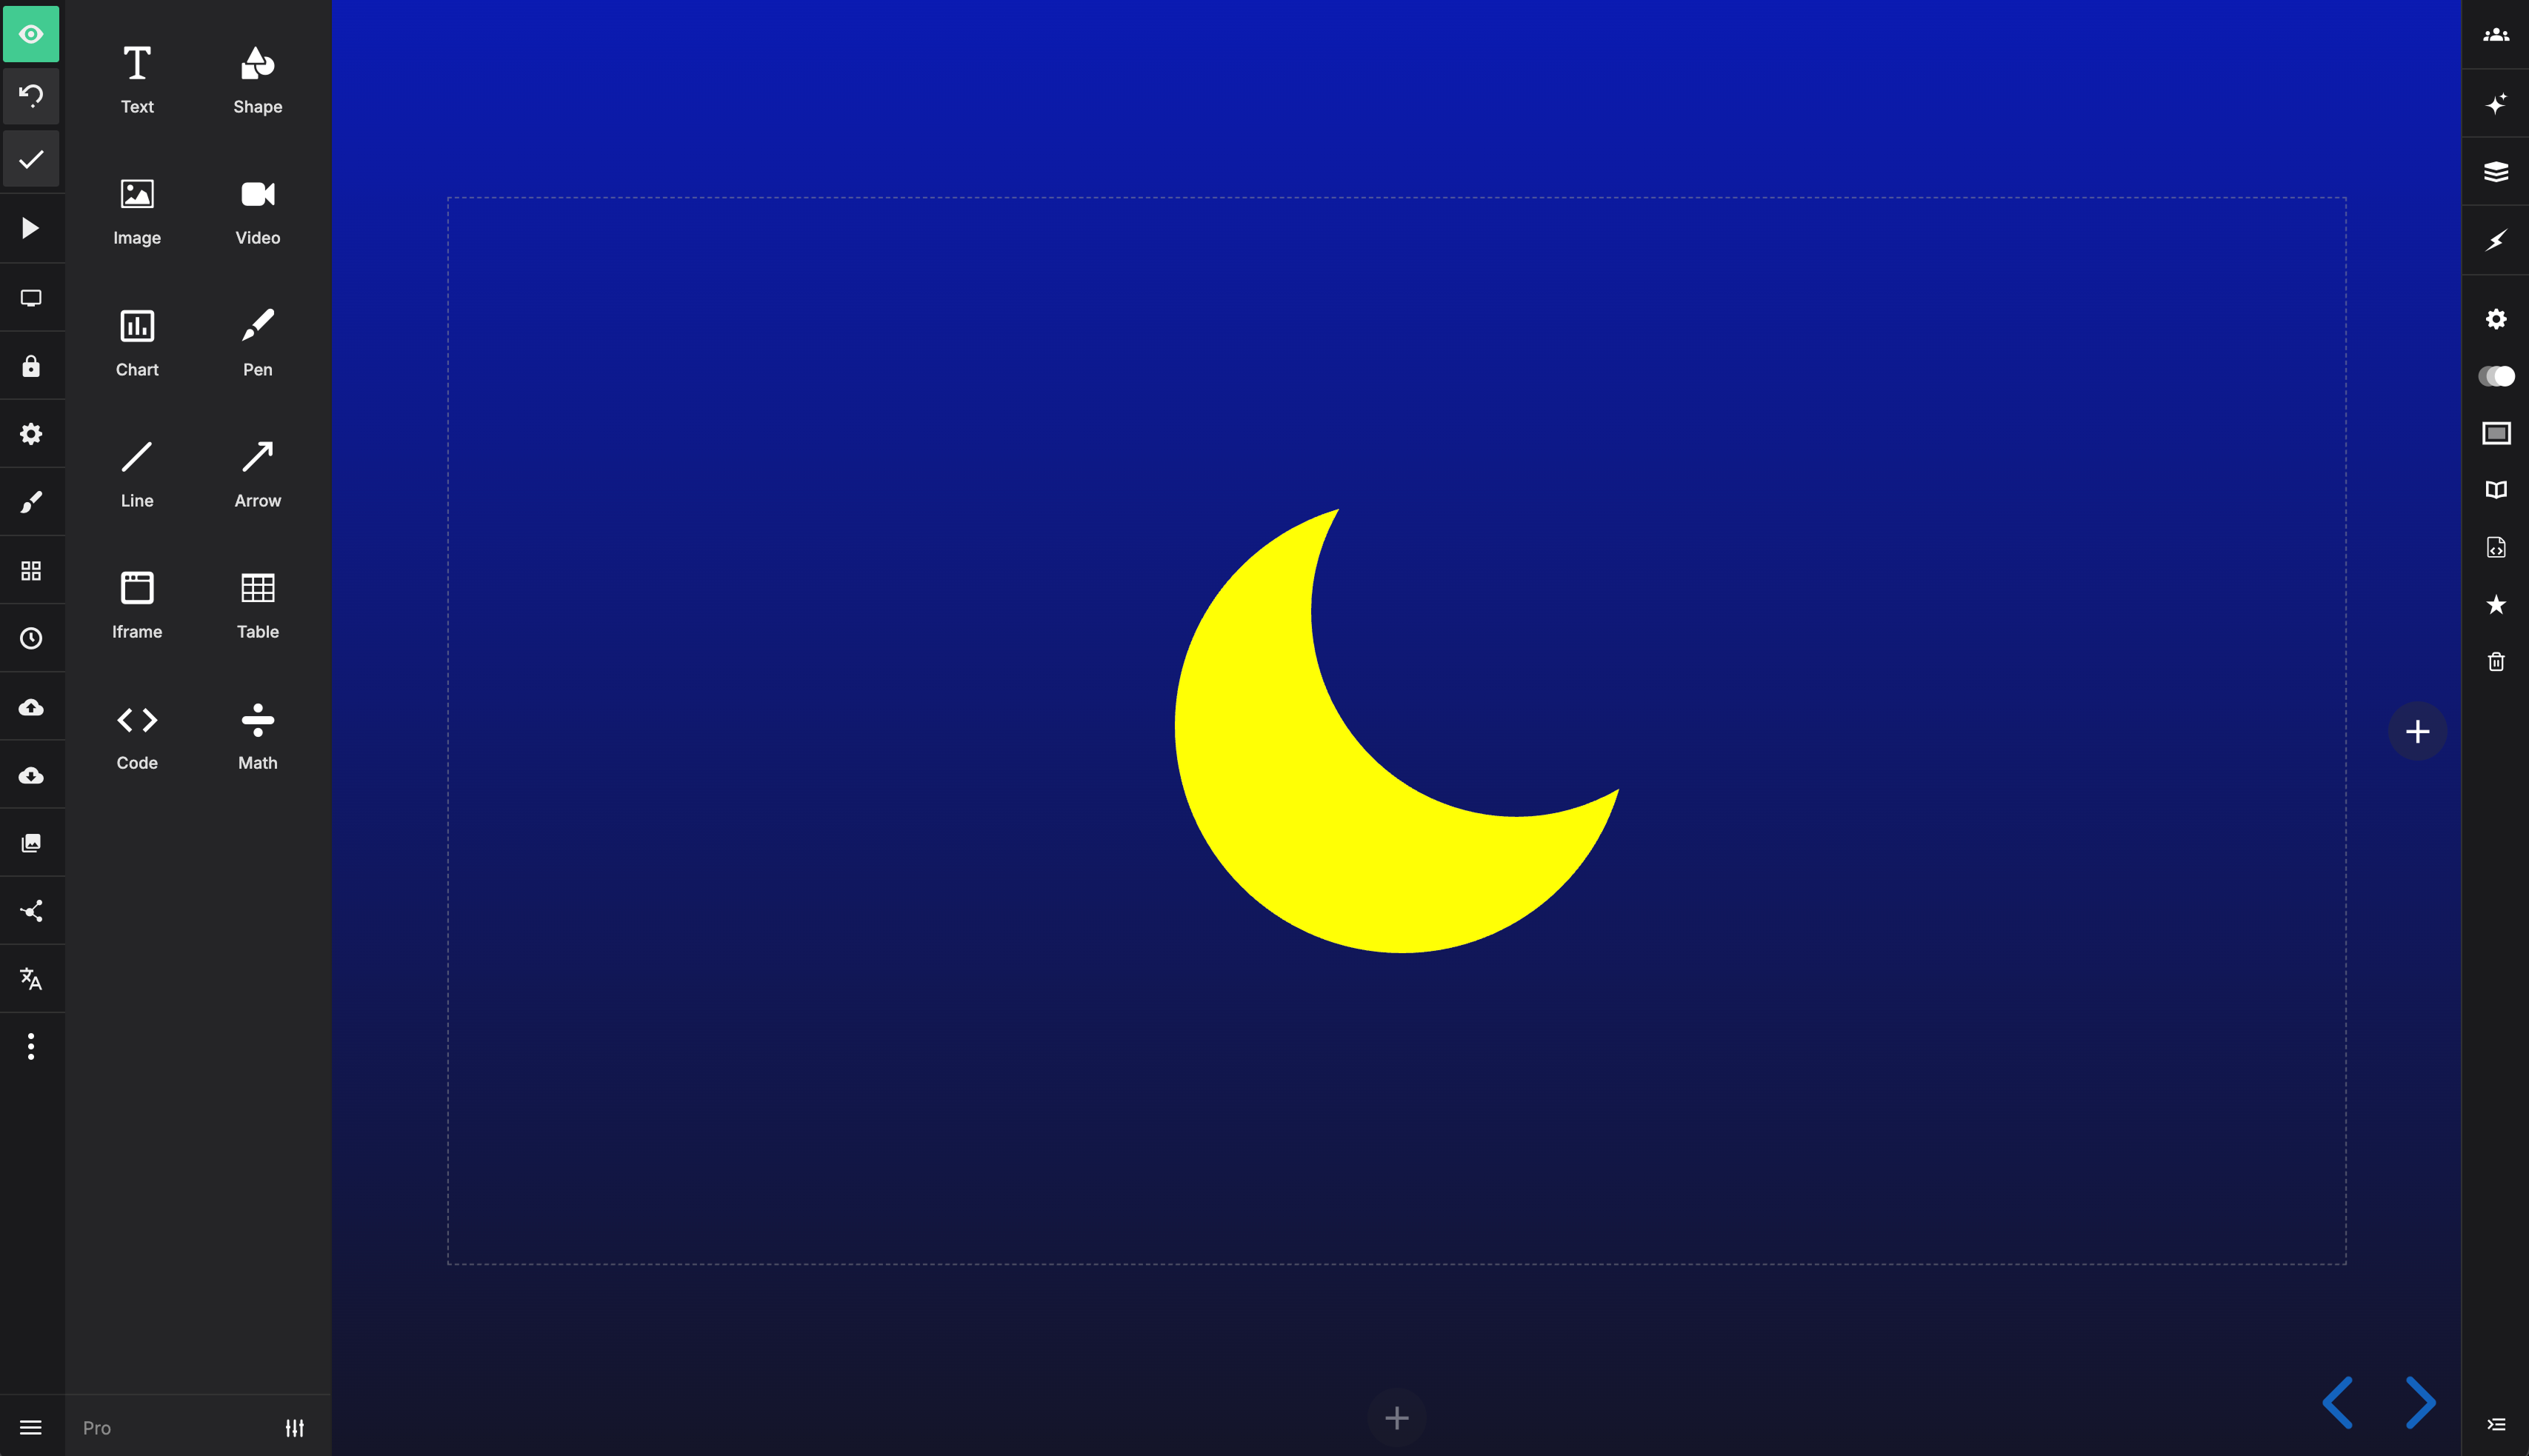
The slide background is a separate element from the slide content. These examples show how to target each one using a custom class called night-sky:
// Targets the slide contents
.slides .night-sky svg path {
    fill: yellow;
}

// Targets the slide background
.backgrounds .night-sky {
    background: linear-gradient(0deg, #141528, #0b1bb2);
}
Exporting HTML
To move your slide markup and the core Slides styles into your own reveal.js project, open the Export panel, select More export options, and find Export to reveal.js. Select Show export instructions for step-by-step directions. Some features may not carry over exactly, but it provides a good starting point.
To present offline or self-host your deck, use Download HTML instead.